In the previous part we discussed the S3 Standard Backend. In this part we’ll learn about the next kind of backend: the Remote Backend. We’ll use Terraform Cloud as our Remote Backend.
Using the Remote Backend
Read the Terraform Backend part to better understand the pros and cons of the Remote Backend.
To use the Remote Backend, we need to create an account and log into Terraform Cloud.
Terraform Cloud (now HCP Terraform)
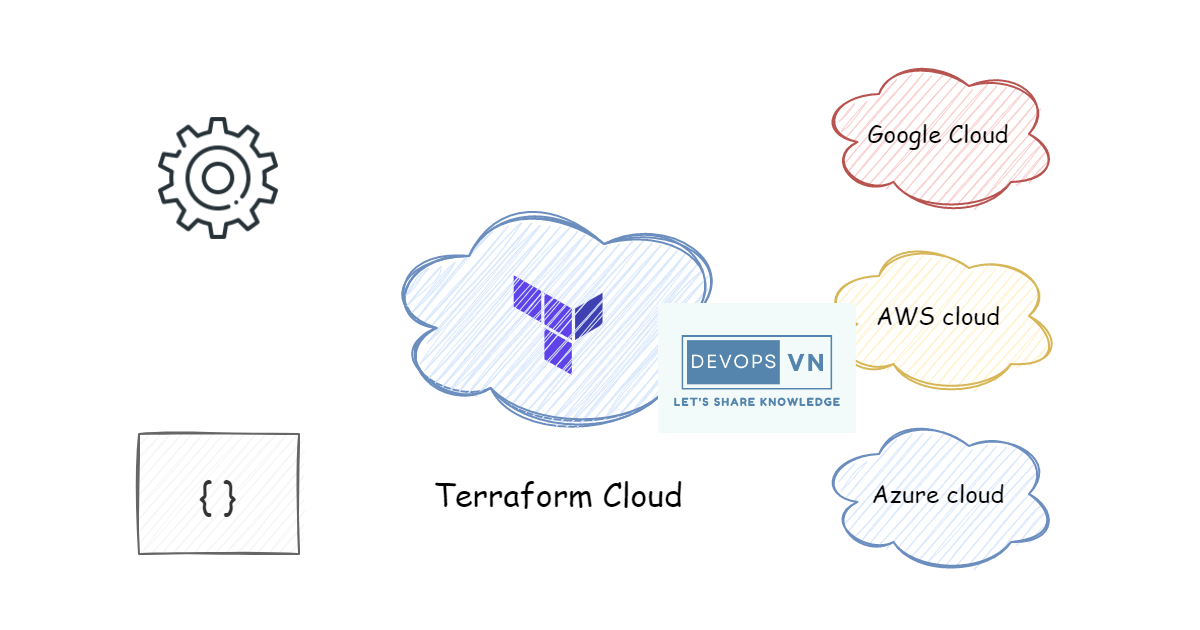
HCP Terraform — called Terraform Cloud until 2023 — is a HashiCorp service that helps us manage resources more easily and securely. It also makes building CI/CD for provisioning infrastructure very simple. (You’ll still see the “Terraform Cloud” name in older docs and screenshots; it’s the same product.)
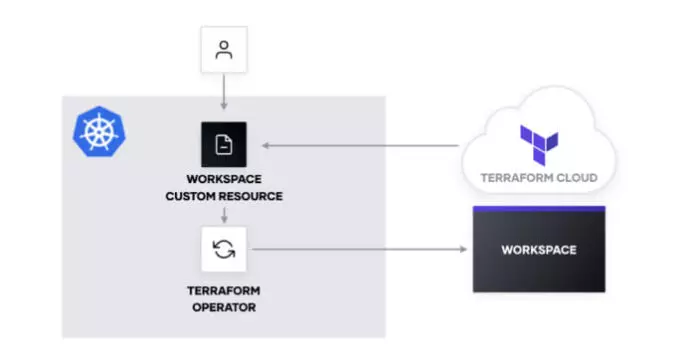
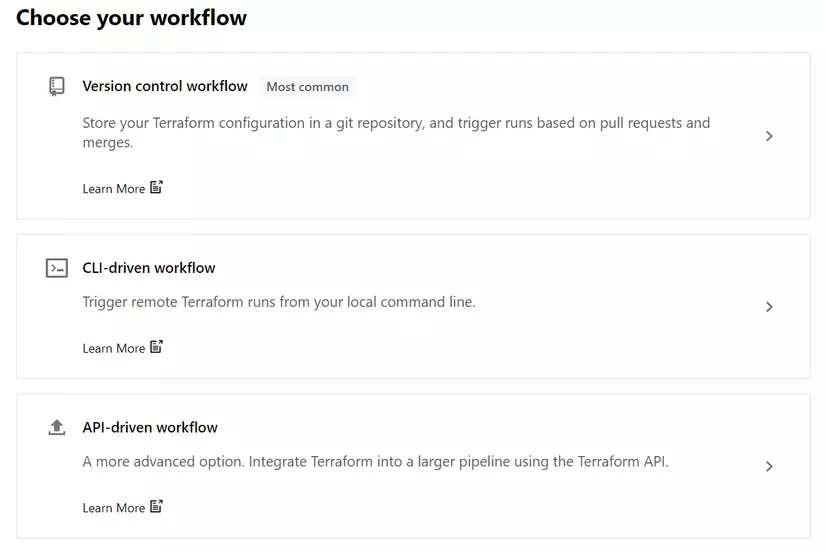
Terraform Cloud has three ways to use it:
- Version control workflow
- CLI-driven workflow
- API-driven workflow
We’ll use the CLI-driven workflow for the Remote Backend, and the Version Control workflow for CI/CD.
Creating an account
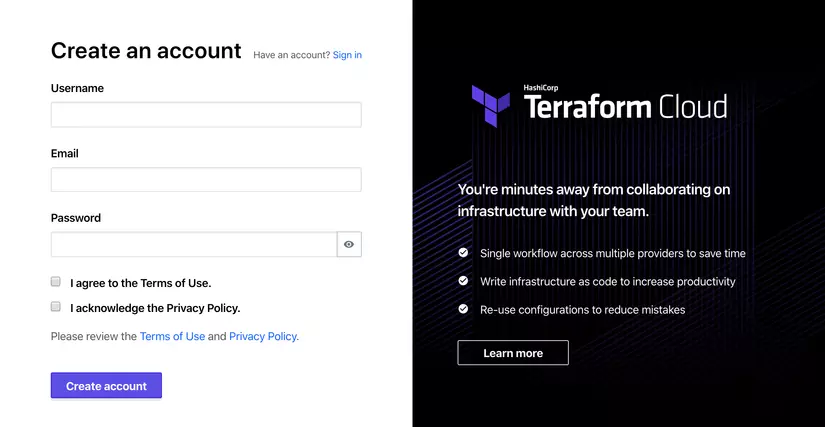
First, to work with Terraform Cloud we must create an account. Go to this link, Signup, and create an account.
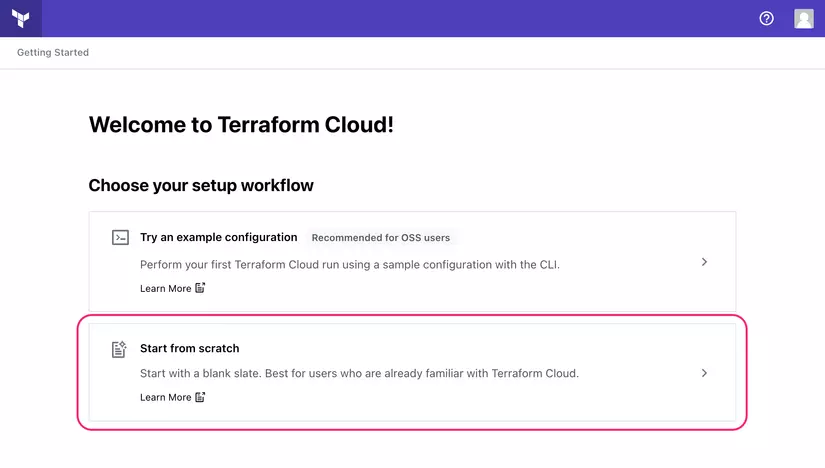
Then log into Terraform Cloud and choose Start from scratch.
In the next step we enter the Organization information. Then click create, and once created we’ll see the UI below.

So we’re all set up; now we’ll work with the Remote Backend.
Usage
To use the Remote Backend, in the Workspaces UI we click to create a workspace and choose the CLI-driven workflow.
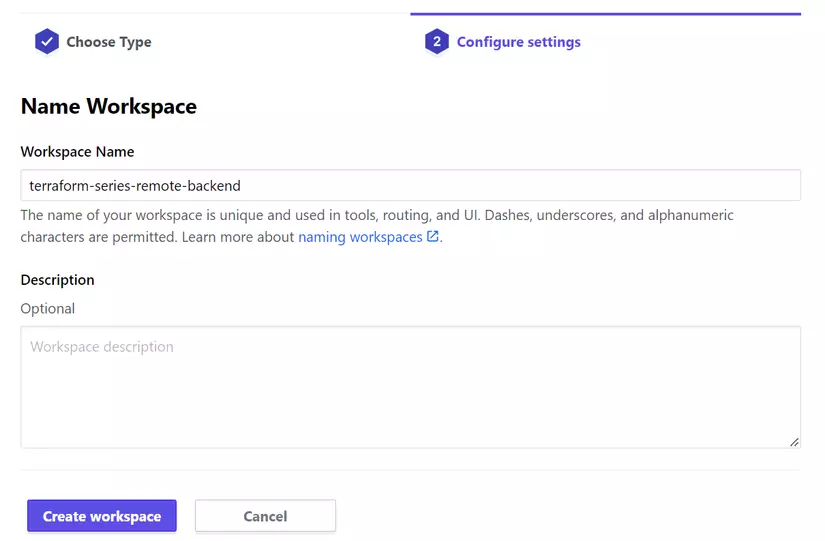
Then we enter the workspace name and click create.
After it’s created, our workspace is ready to use.
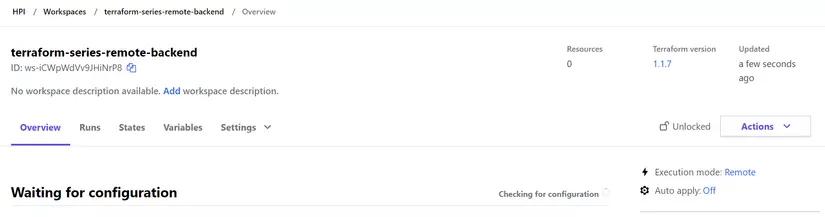
We’ll see the workspace status is Waiting for configuration; next we’ll configure Terraform Local to connect to the Remote Backend.
Scrolling down we’ll see the configuration and usage section.
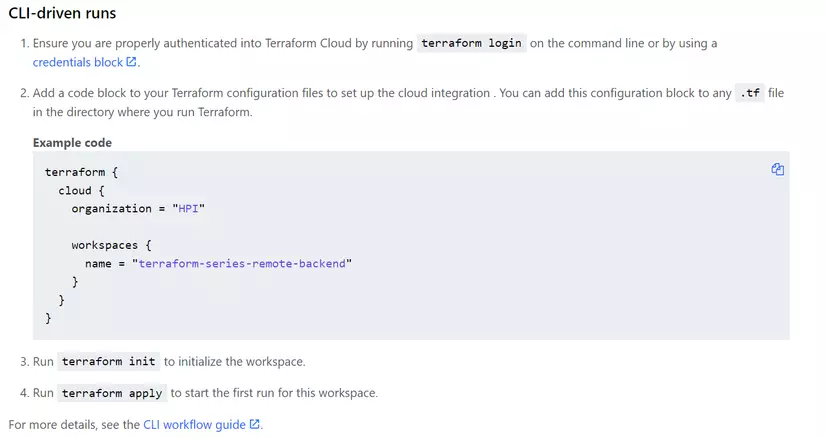
First we create a directory and a main.tf file with this code.
terraform {
  required_version = ">= 1.9"

  required_providers {
    aws = {
      source  = "hashicorp/aws"
      version = "~> 6.0"
    }
  }
}

provider "aws" {
  region = "us-west-2"
}

data "aws_ami" "ami" {
  most_recent = true
  owners      = ["099720109477"]

  filter {
    name   = "name"
    values = ["ubuntu/images/hvm-ssd-gp3/ubuntu-noble-24.04-amd64-server-*"]
  }
}

resource "aws_instance" "server" {
  ami           = data.aws_ami.ami.id
  instance_type = "t3.micro"

  lifecycle {
    create_before_destroy = true
  }

  tags = {
    Name = "Server"
  }
}

output "public_ip" {
  value = aws_instance.server.public_ip
}
To use the Remote Backend we need to add the following configuration to the Terraform file.
terraform {
  cloud {
    organization = <organization-name>

    workspaces {
      name = <workspace-name>
    }
  }
}
We use a cloud block with two attributes, organization and workspaces. Update the main.tf file with the configuration of the workspace we just created above.
Use the cloud block with Terraform version 1.1 and above; for versions below 1.1 use the remote block.
terraform {
 cloud {
   organization = "HPI"

   workspaces {
     name = "terraform-series-remote-backend"
   }
 }
}

provider "aws" {
 region = "us-west-2"
}

...
Next we run terraform login to log into the Remote Backend. When we run it we’ll see the UI below.
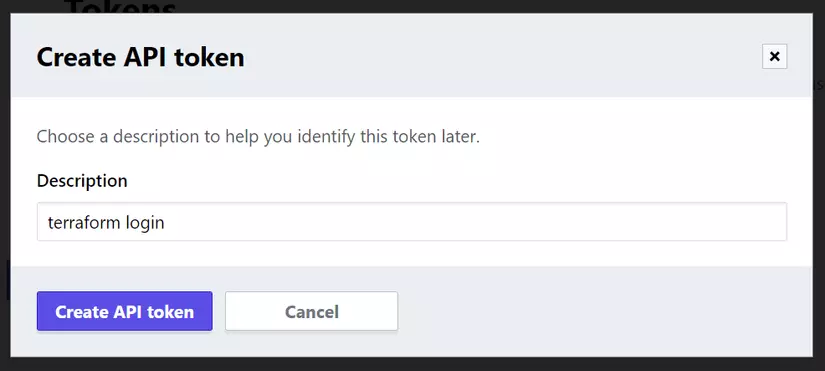
Click Create API token.
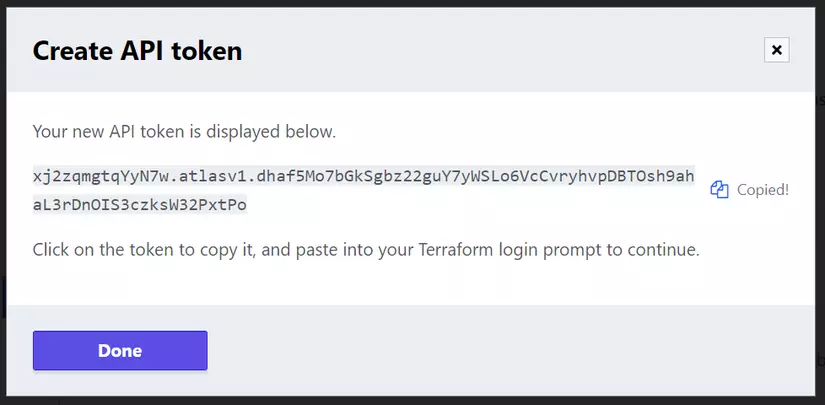
Copy the value and click Done, then go back to the terminal and paste the value we just copied.
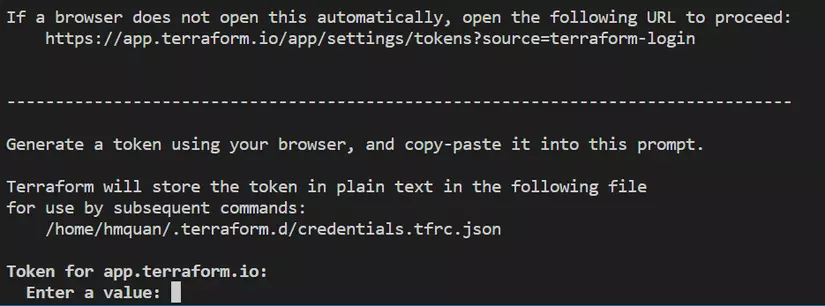
If the value is correct, our Terraform Local has successfully logged into Terraform Cloud.
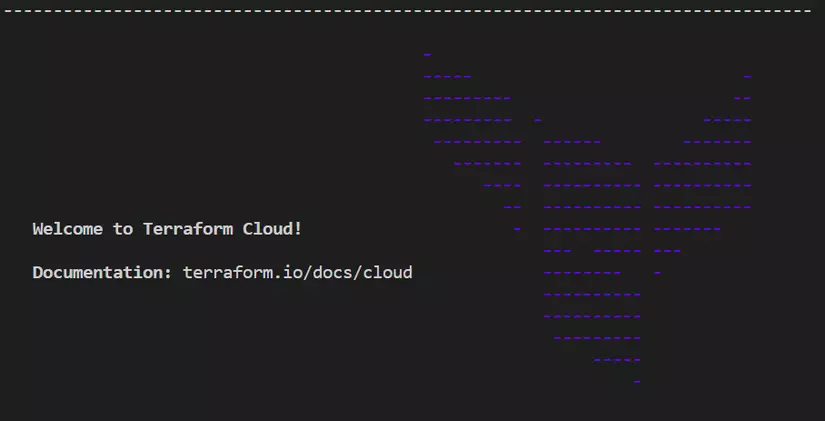
After logging in, we run init.
terraform init
Initializing HCP Terraform...

Initializing provider plugins...
- Finding hashicorp/aws versions matching "~> 6.0"...
- Installing hashicorp/aws v6.55.0...
- Installed hashicorp/aws v6.55.0 (signed by HashiCorp)

Terraform has created a lock file .terraform.lock.hcl to record the provider
selections it made above. Include this file in your version control repository
so that Terraform can guarantee to make the same selections by default when
you run "terraform init" in the future.

HCP Terraform has been successfully initialized!

You may now begin working with HCP Terraform. Try running "terraform plan" to
see any changes that are required for your infrastructure.

If you ever set or change modules or Terraform Settings, run "terraform init"
again to reinitialize your working directory.
So we’ve successfully configured the Remote Backend. Now let’s try running terraform plan.
terraform plan
Running plan in Terraform Cloud. Output will stream here. Pressing Ctrl-C
will stop streaming the logs, but will not stop the plan running remotely.

Preparing the remote plan...

To view this run in a browser, visit:
https://app.terraform.io/app/HPI/terraform-series-remote-backend/runs/run-7R7giQVT4TqnaAzL

Waiting for the plan to start...

Terraform v1.11.3
on linux_amd64
Configuring remote state backend...
Initializing Terraform configuration...
╷
│ Error: error configuring Terraform AWS Provider: no valid credential sources for Terraform AWS Provider found.
You’ll see it reports an error, because now that we’re using the Remote Backend, all configuration related to credentials — such as the AWS secret key and access key — must be configured on the Remote Backend. This is a strength of the Remote Backend: all credential-related configuration is in one place, without needing to store credentials on our machine, which improves security.
To configure the credentials, click over to Settings and choose Variable sets.
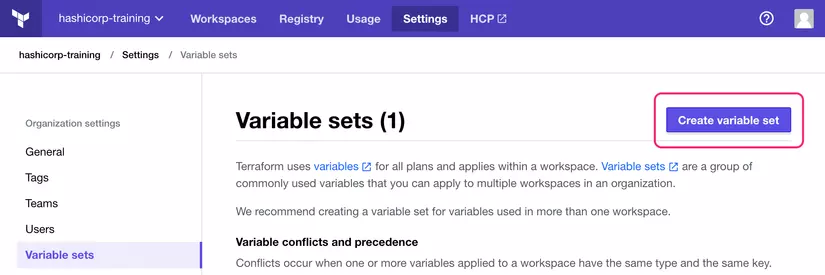
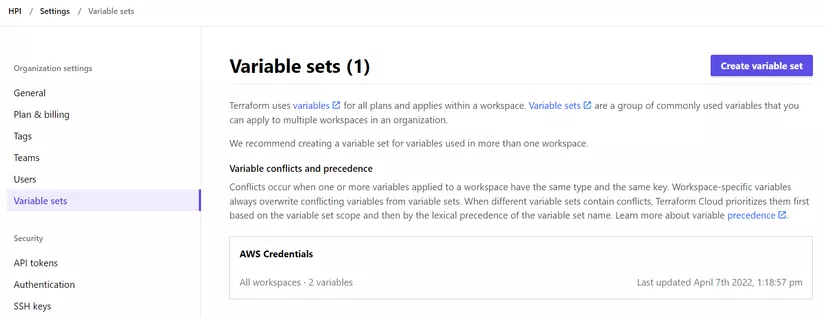
Click create, name the variable set “AWS Credentials”, and choose Apply to all workspaces in this organization.
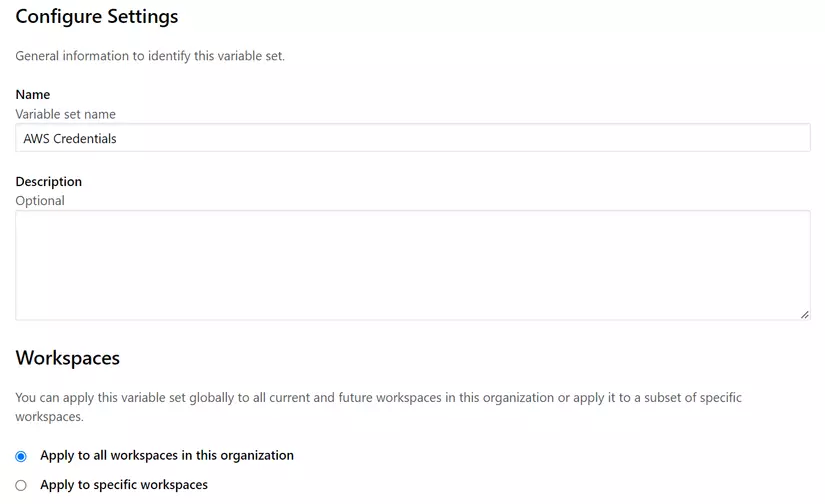
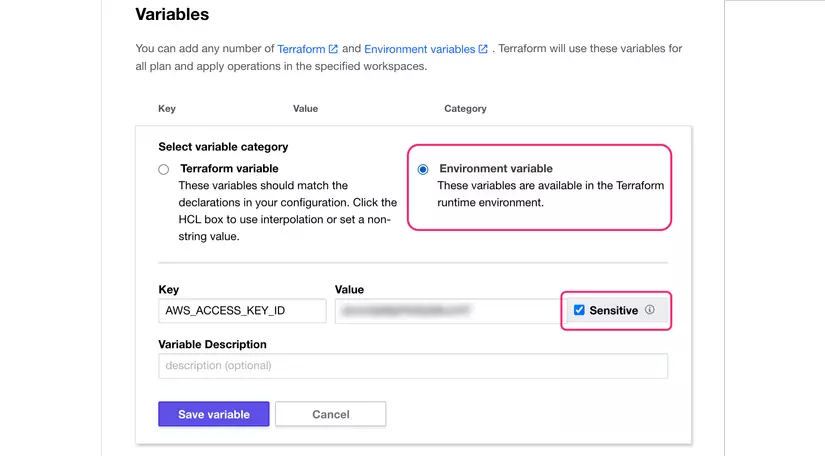
Next we create variables to store the two values AWS_ACCESS_KEY_ID and AWS_SECRET_ACCESS_KEY. Click Add variable for AWS_ACCESS_KEY_ID, choose Environment variable, and fill in the value — remember to mark that variable as Sensitive.
Do the same for AWS_SECRET_ACCESS_KEY.
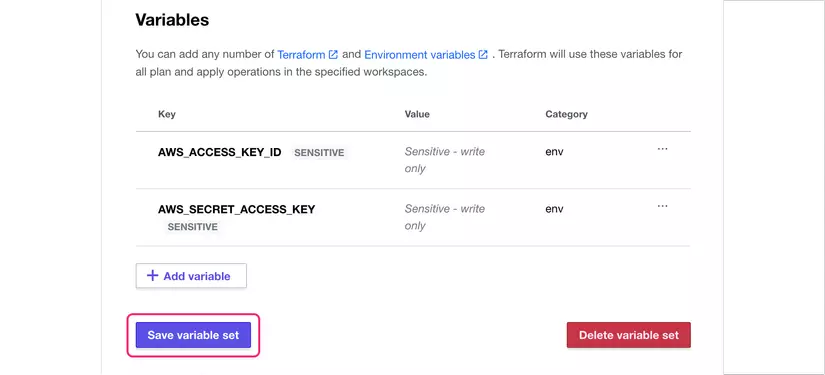
Click save.
Modern alternative: static
AWS_ACCESS_KEY_ID/AWS_SECRET_ACCESS_KEYstill work, but the recommended way today is dynamic provider credentials — HCP Terraform authenticates to AWS over OIDC and assumes an IAM role for each run, so there are no long-lived keys to store or rotate. You set a fewTFC_AWS_*variables and an IAM OIDC provider instead. See HashiCorp’s “Dynamic Credentials with the AWS Provider” docs.
Now we run terraform plan again.
terraform plan
Running plan in Terraform Cloud. Output will stream here. Pressing Ctrl-C
will stop streaming the logs, but will not stop the plan running remotely.

Preparing the remote plan...
...

Plan: 1 to add, 0 to change, 0 to destroy.

Changes to Outputs:
  + public_ip = (known after apply)
Let’s run apply.
terraform apply
...
aws_instance.server: Creating...
aws_instance.server: Still creating... [10s elapsed]
aws_instance.server: Creation complete after 12s [id=i-0839b6f71c5749de4]

Apply complete! Resources: 1 added, 0 changed, 0 destroyed.

Outputs:

public_ip = "34.220.170.155"
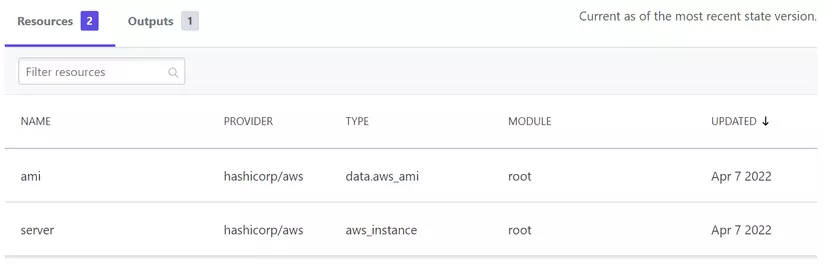
When apply finishes, our state file is now stored on Terraform Cloud. On Terraform Cloud, click over to the State section.
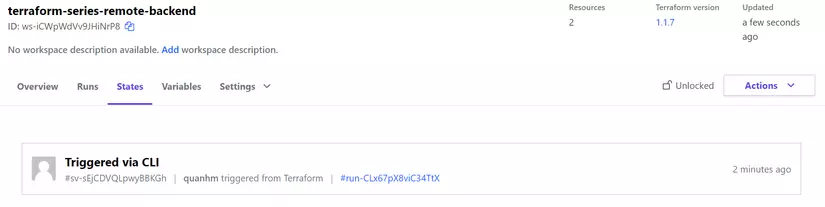
Click Triggered via CLI and we’ll see the state file’s value. In addition, Terraform Cloud shows us the current resources, helping us easily check them. Click over to the Overview tab and scroll down.
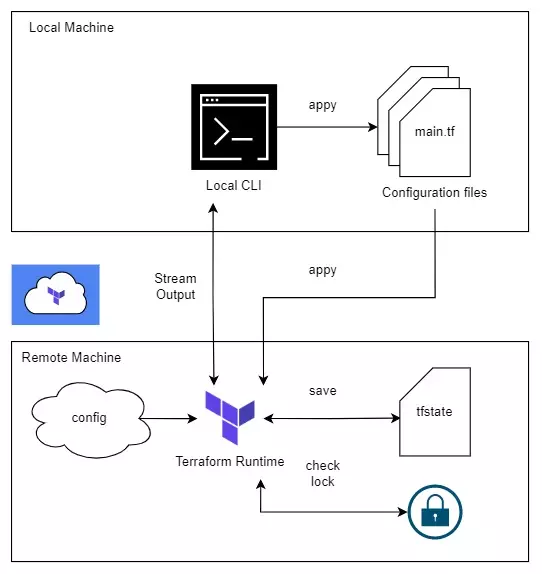
Important: note that when we run Terraform commands with the Remote Backend, the Terraform runtime does not run on our machine but on the Remote Server, and it streams the result back to our machine. Therefore, if you press Ctrl + C to stop while it’s running, it only stops the stream — Terraform on the Remote Server keeps running normally.
Conclusion
So we’ve learned how to use the Terraform Remote Backend. Using it centralizes all credential configuration in one place, helps teams work more effectively, and ensures security. In the next part we’ll learn about CI/CD with Terraform Cloud.