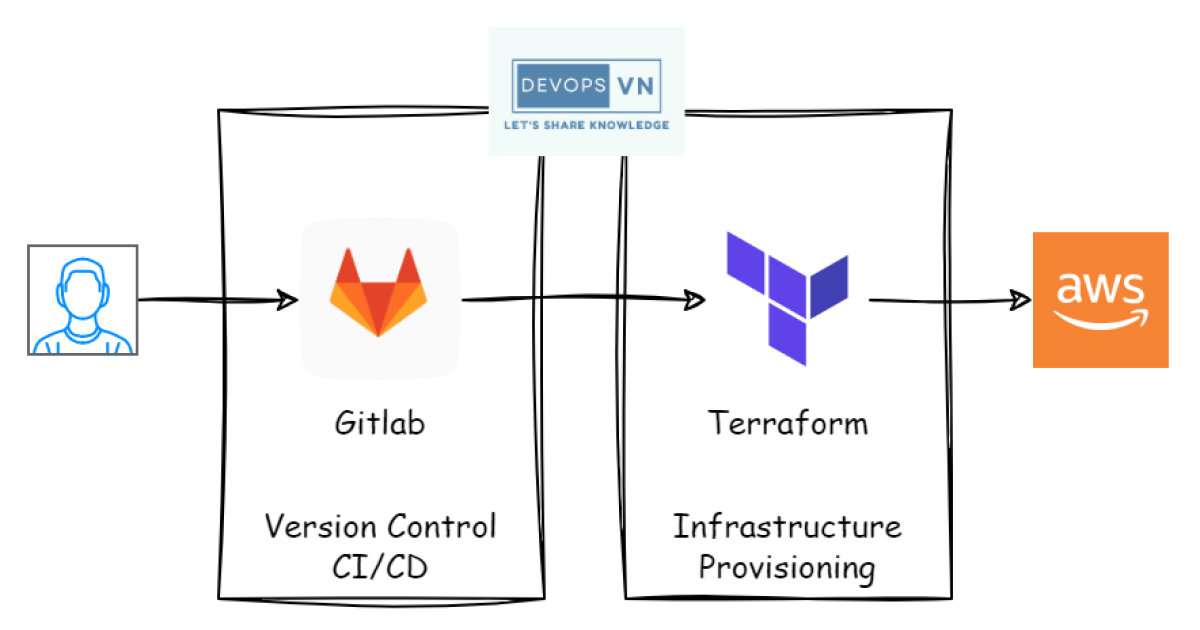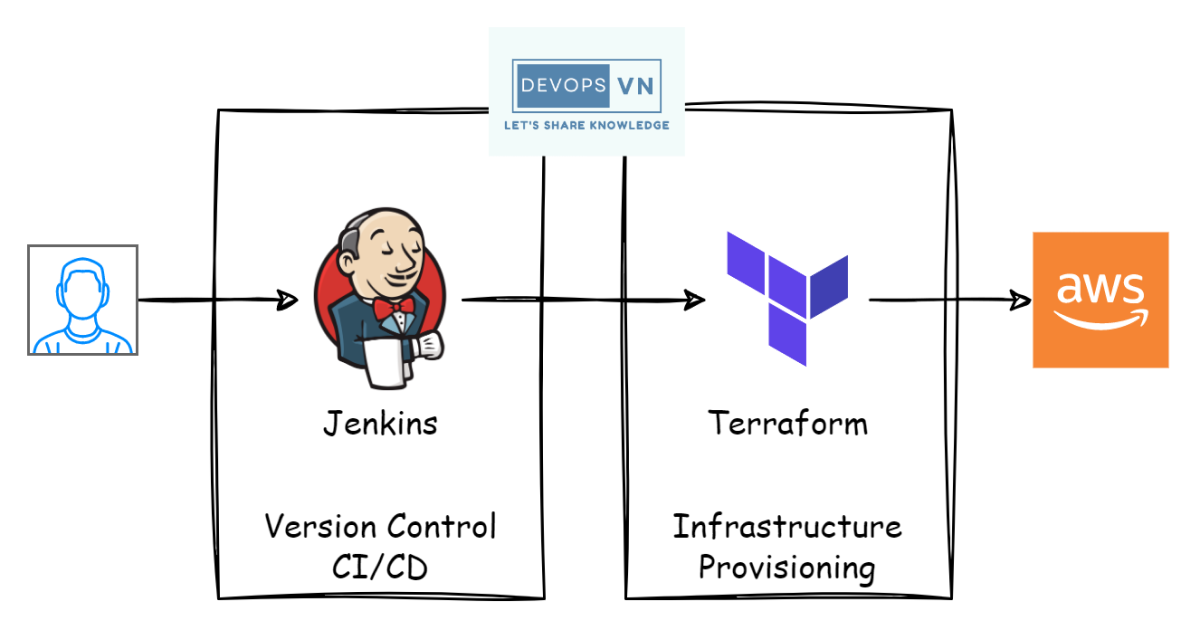
In the previous part we discussed how to use Terraform with GitLab CI. In this part we’ll learn how to build CI/CD for Terraform with Jenkins.
Jenkins is a very popular CI/CD tool used by many people.
Preparation
Before we write the Terraform code and the CI/CD file, we need to prepare the following so Terraform can run in Jenkins.
GitHub
In this part I only show how to use Jenkins with Terraform. For more detail, you can read this: How To Set Up Continuous Integration With Git and Jenkins?.
We create a GitHub repository (Public) to hold the source code and connect it to Jenkins. The source code used in this part: Terraform Jenkins Example. Next, create a Project on Jenkins named terraform-jenkins, choosing the Pipeline type.
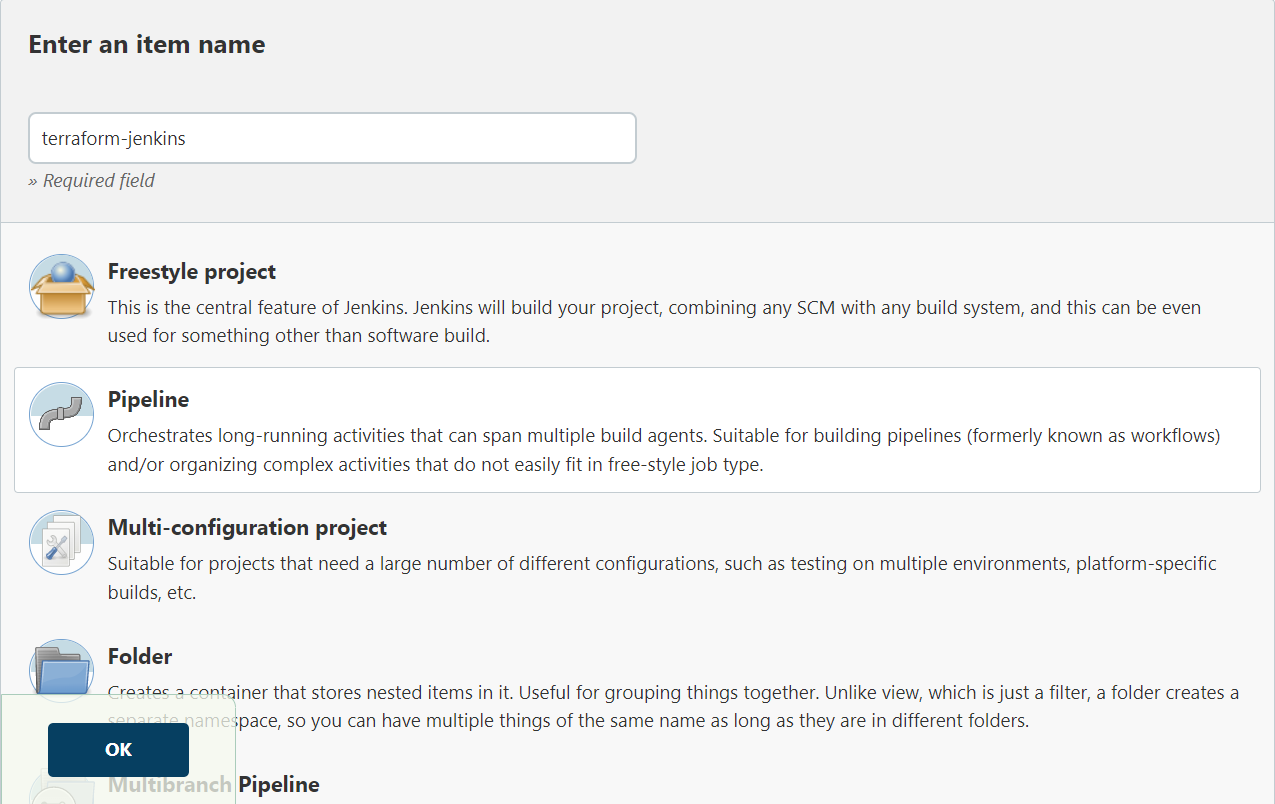
Click over to the Pipeline section and fill it in as below:
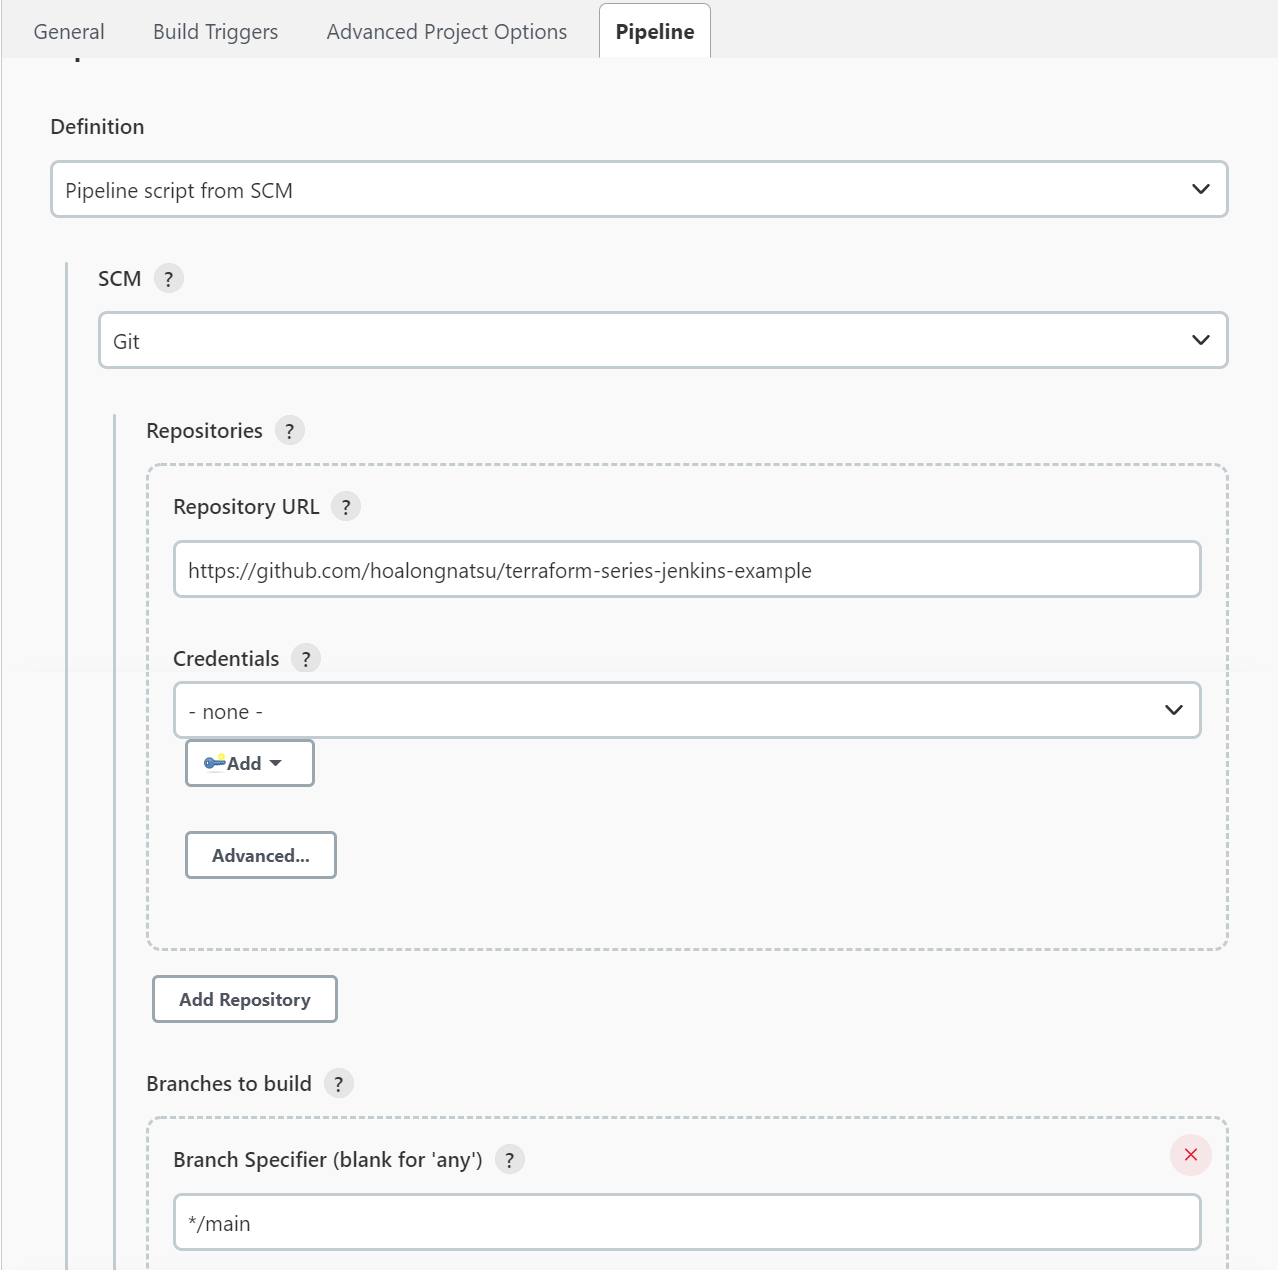
Click save.
AWS Credentials
Since we’re using Terraform with AWS, we need to configure AWS credentials in Jenkins for Terraform. Follow this guide to create an IAM user with AdministratorAccess: Creating your first IAM admin user and user group.
Then create a Secret Key for the IAM user above. In Jenkins, choose Manage Jenkins -> Manage Credentials.
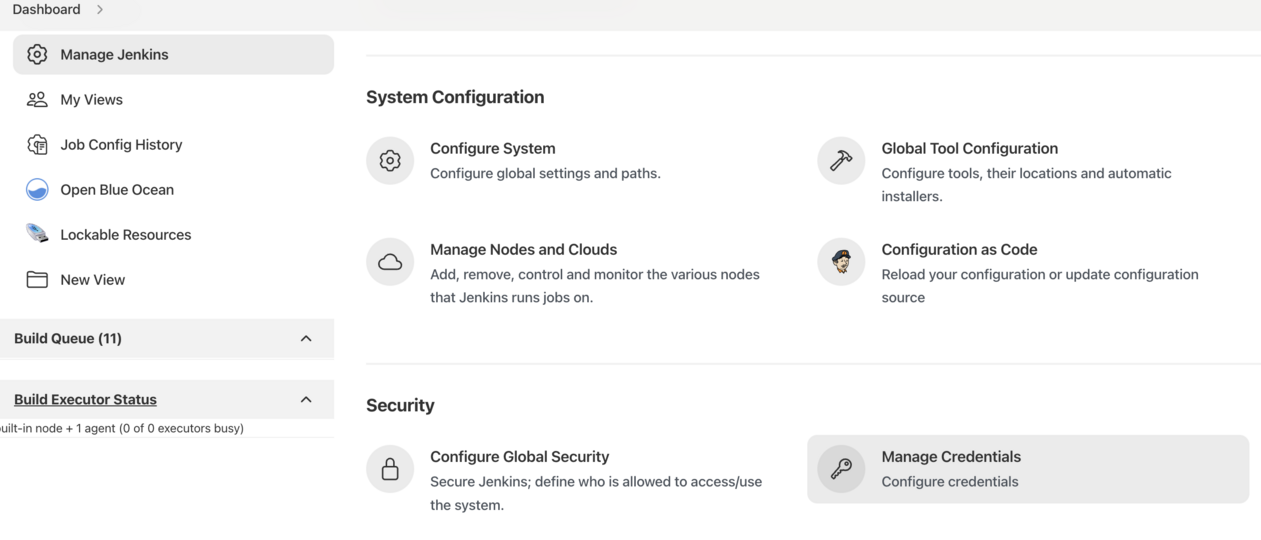
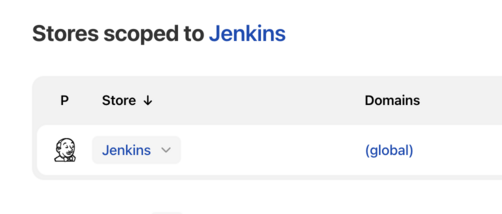
In the Stores scoped to Jenkins section, choose Jenkins.
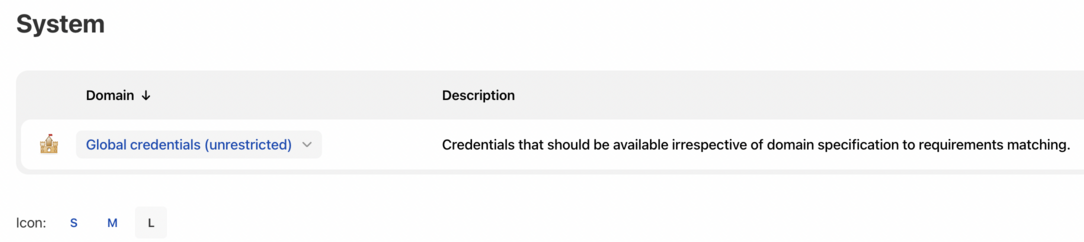
Choose Global credentials.
Choose Add Credentials.
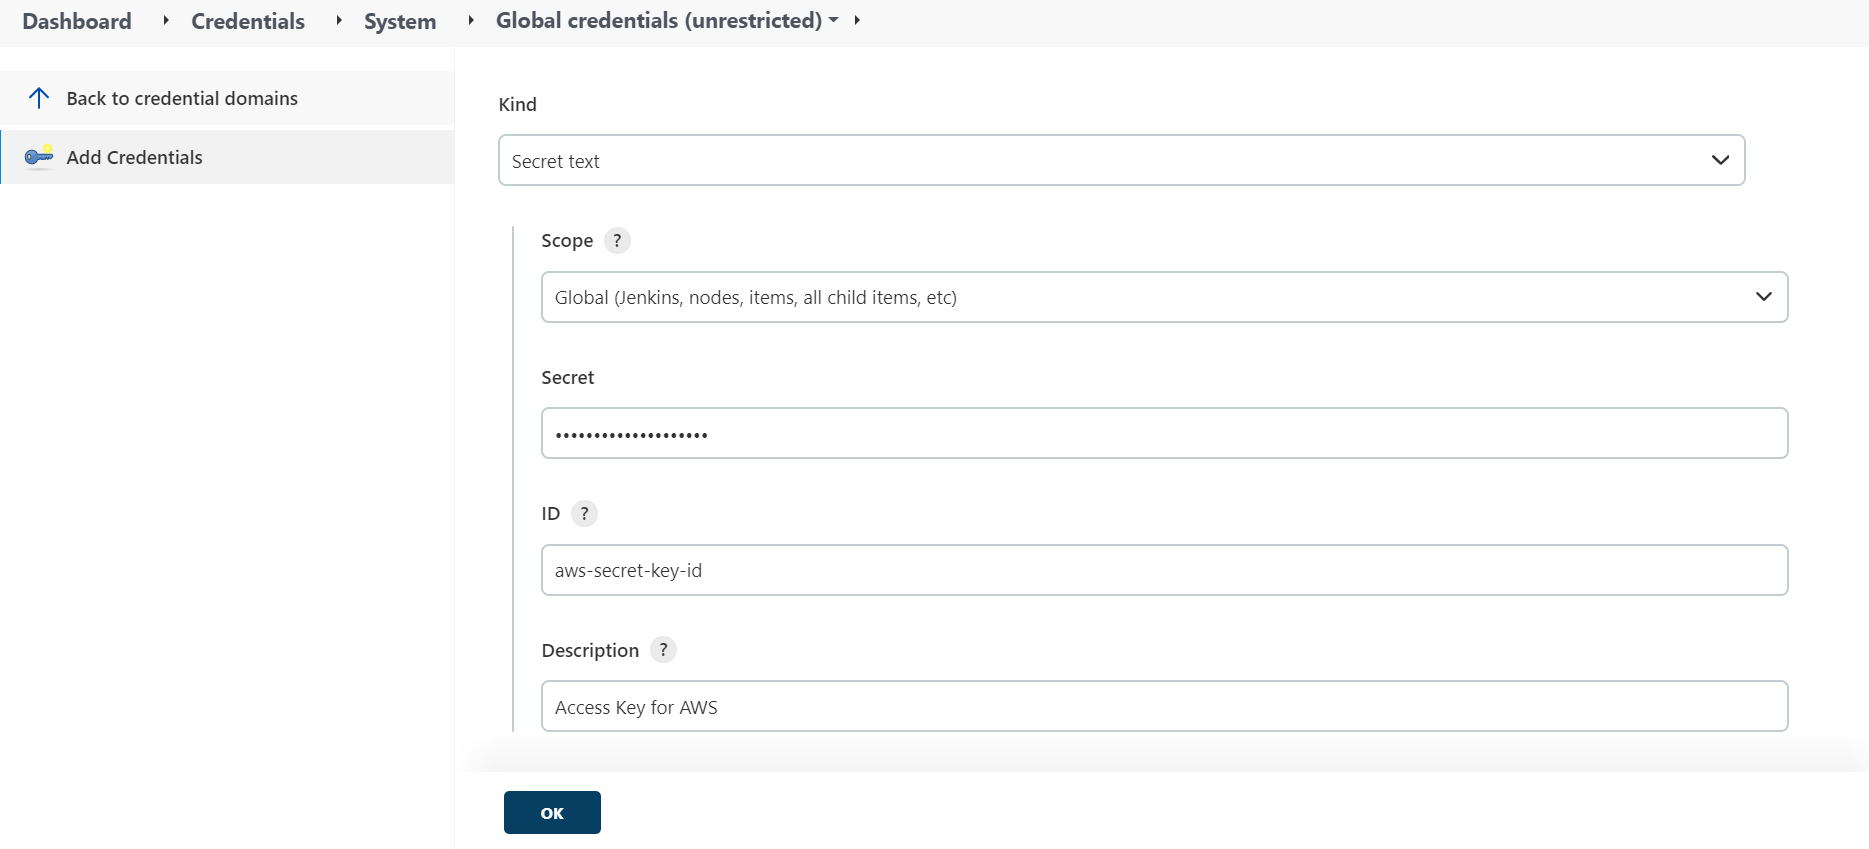
- For the Kind field, choose Secret Text
- Leave the Scope field as default
- In the Secret field, enter the value of
AWS_ACCESS_KEY_ID - The ID field is the secret’s name; name it
aws-secret-key-id - The Description field can be anything
Similarly, create another Secret text to hold the value of AWS_SECRET_ACCESS_KEY and name it aws-secret-access-key.
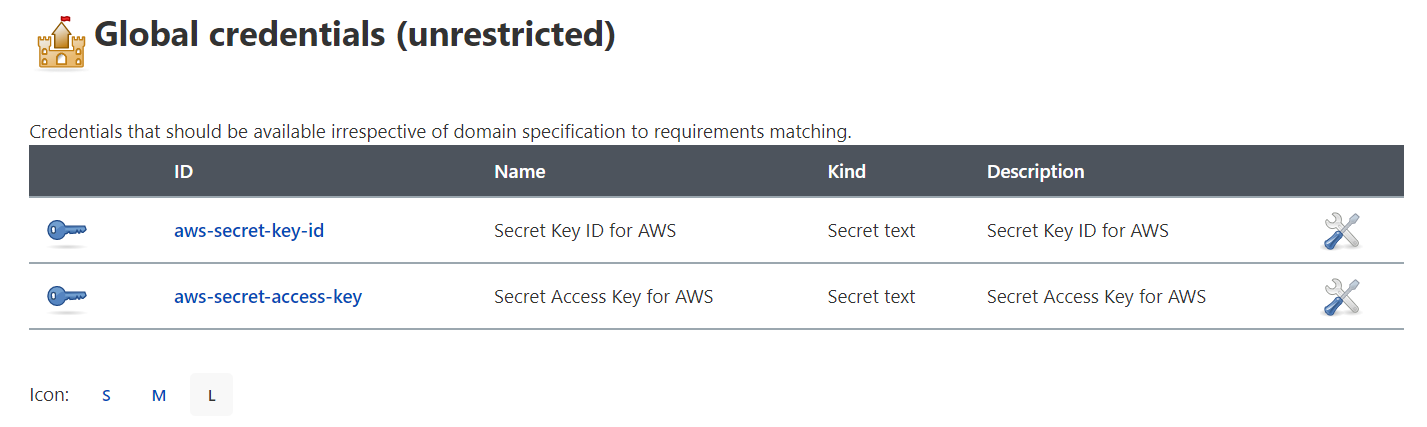
S3 Backend
Next we’ll create an S3 backend to store the Terraform State; see more about the S3 backend here: Using the S3 Standard Backend in a Project. Download this repo: Terraform Series, move to bai-14/s3-backend, and run the following commands:
terraform init
terraform apply -auto-approve
When Terraform finishes, the S3 backend values are displayed.
Apply complete! Resources: 8 added, 0 changed, 0 destroyed.

Outputs:

config = {
  "bucket" = "terraform-series-s3-backend"
  "region" = "us-west-2"
  "role_arn" = "arn:aws:iam::112337013333:role/Terraform-SeriesS3BackendRole"
}
Copy these values down.
Combining with Terraform
To run Terraform in Jenkins we have the following options:
- Install Terraform on the Build Agent
- Use a Docker container
- Use the Terraform plugin
We’ll use the third option in this part. Go to Manage Jenkins -> Manage Plugins, find the Terraform plugin, and click Install.
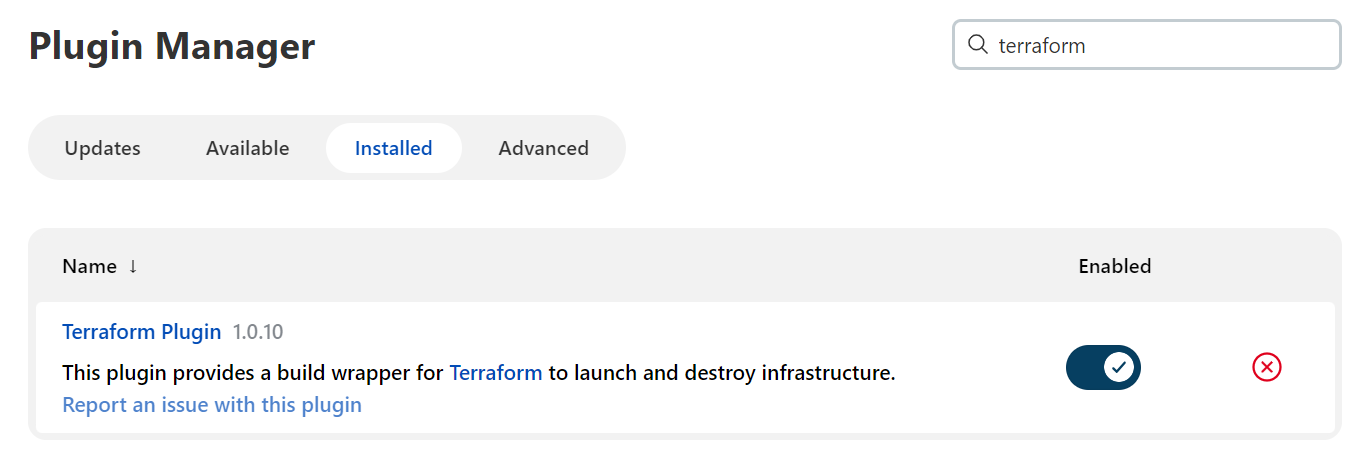
Then go to Manage Jenkins -> Global Tool Configuration, find the Terraform section, and configure it as follows:
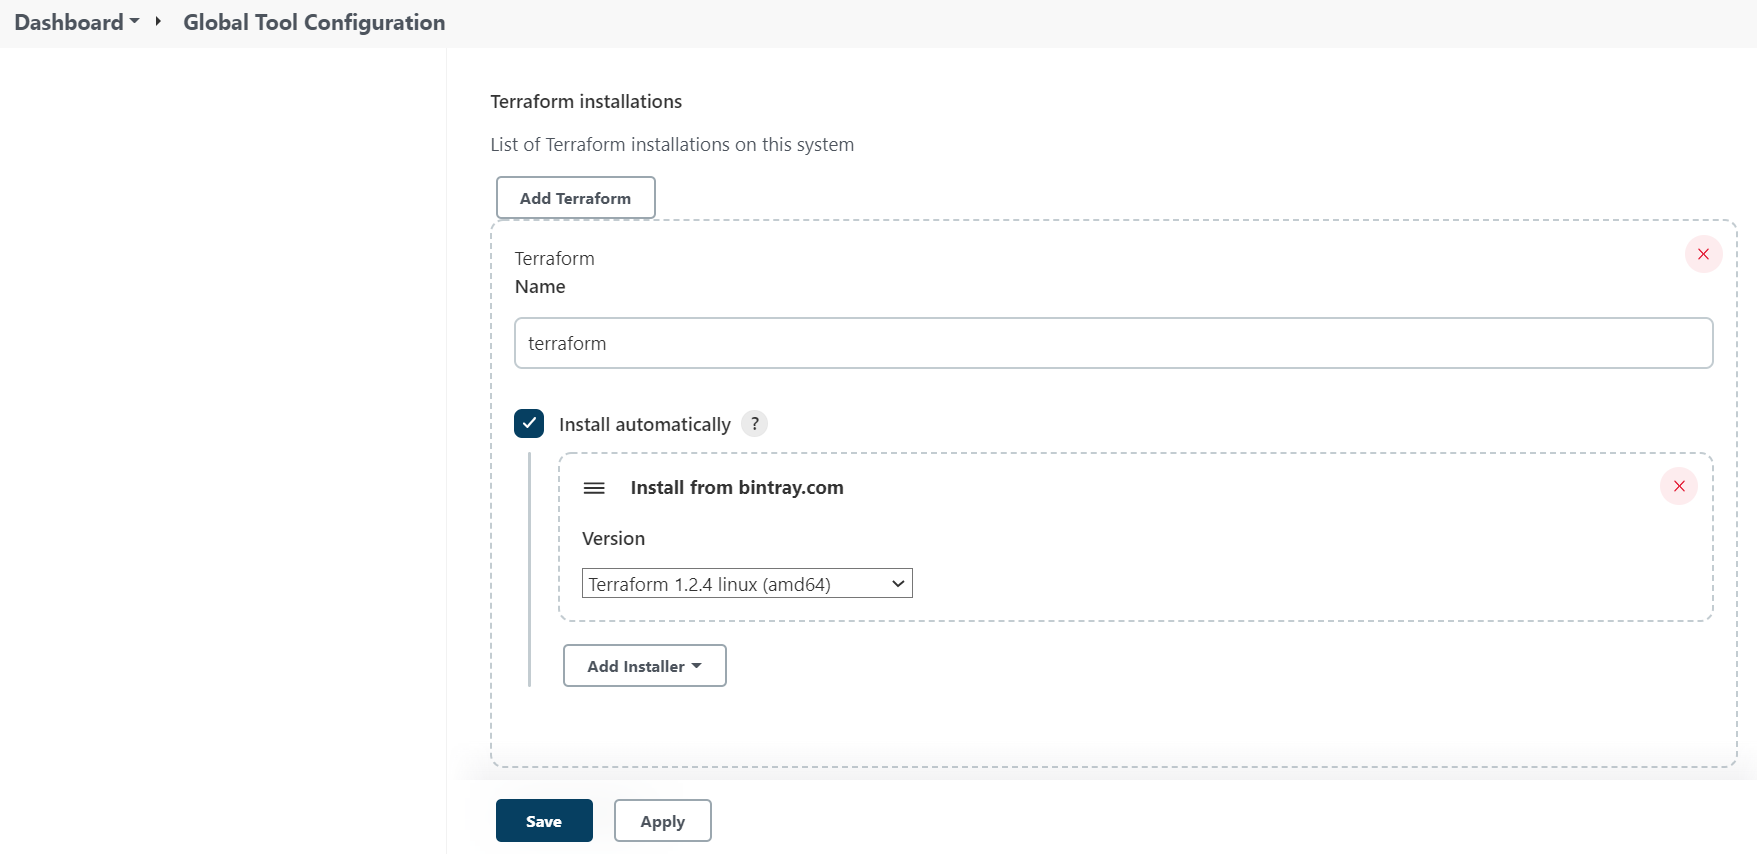
Next we build the CI/CD flow.
CI/CD
Create a file named main.tf.
terraform {
  required_version = ">= 1.10"

  required_providers {
    aws = {
      source  = "hashicorp/aws"
      version = "~> 6.0"
    }
  }

  backend "s3" {
    bucket       = "terraform-series-s3-backend"
    key          = "terraform-jenkins"
    region       = "us-west-2"
    encrypt      = true
    role_arn     = "arn:aws:iam::<ACCOUNT_ID>:role/Terraform-SeriesS3BackendRole"
    use_lockfile = true
  }
}

provider "aws" {
  region = "us-west-2"
}

data "aws_ami" "ami" {
  most_recent = true
  owners      = ["099720109477"]

  filter {
    name   = "name"
    values = ["ubuntu/images/hvm-ssd-gp3/ubuntu-noble-24.04-amd64-server-*"]
  }
}

resource "aws_instance" "server" {
  ami           = data.aws_ami.ami.id
  instance_type = "t3.micro"

  lifecycle {
    create_before_destroy = true
  }

  tags = {
    Name = "Server"
  }
}

output "public_ip" {
  value = aws_instance.server.public_ip
}
Configure the S3 backend as follows (using use_lockfile for S3-native locking instead of a DynamoDB table):
terraform {
  backend "s3" {
    bucket       = "terraform-series-s3-backend"
    key          = "terraform-jenkins"
    region       = "us-west-2"
    encrypt      = true
    role_arn     = "arn:aws:iam::<ACCOUNT_ID>:role/Terraform-SeriesS3BackendRole"
    use_lockfile = true
  }
}
Change <ACCOUNT_ID> to your ID. Next we create a Jenkinsfile:
pipeline {
  agent any

  tools {
    terraform 'terraform'
  }

  environment {
    AWS_ACCESS_KEY_ID     = credentials('aws-secret-key-id')
    AWS_SECRET_ACCESS_KEY = credentials('aws-secret-access-key')
  }

  stages {
    stage('Init Provider') {
      steps {
        sh 'terraform init'
      }
    }
    stage('Plan Resources') {
      steps {
        sh 'terraform plan -out planfile'
      }
    }
    stage('Apply Resources') {
      input {
        message "Do you want to proceed for production deployment?"
      }
      steps {
        sh 'terraform apply -input=false planfile'
      }
    }
  }
}
To use Terraform in the pipeline we use the attribute:
tools {
  terraform 'terraform'
}
This is the Global Tool we configured above when installing the Terraform plugin. And to use the AWS credentials we use these two attributes:
environment {
  AWS_ACCESS_KEY_ID     = credentials('aws-secret-key-id')
  AWS_SECRET_ACCESS_KEY = credentials('aws-secret-access-key')
}
The credentials function is used to get the value of the Secret Text we created. The remaining code runs Terraform, consisting of the init, plan, and deploy steps.
The deploy code is a bit different — it has an extra input attribute:
input {
  message "Do you want to proceed for production deployment?"
}
We use this attribute to implement a Manual Approve feature. We don’t let CI/CD automatically run terraform apply — we want to preview which resources will be created first. We push the code to GitHub and go to Jenkins to execute CI/CD. This is Jenkins’s old pipeline UI.
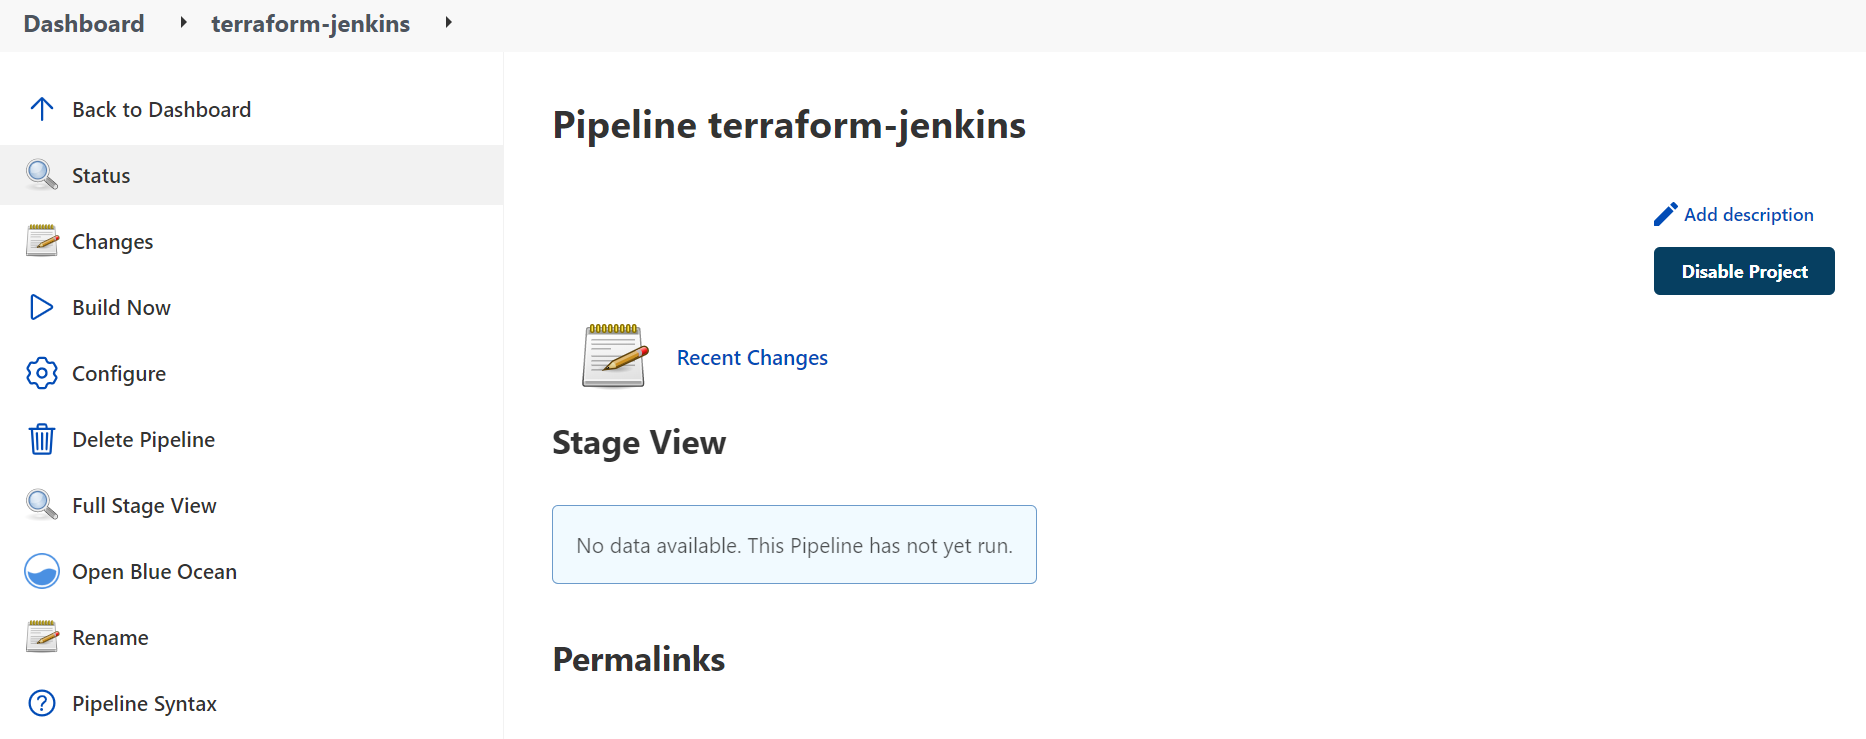
Click Open Blue Ocean to switch to the new UI because it’s nicer; you can use the old UI if you’re not used to it yet.
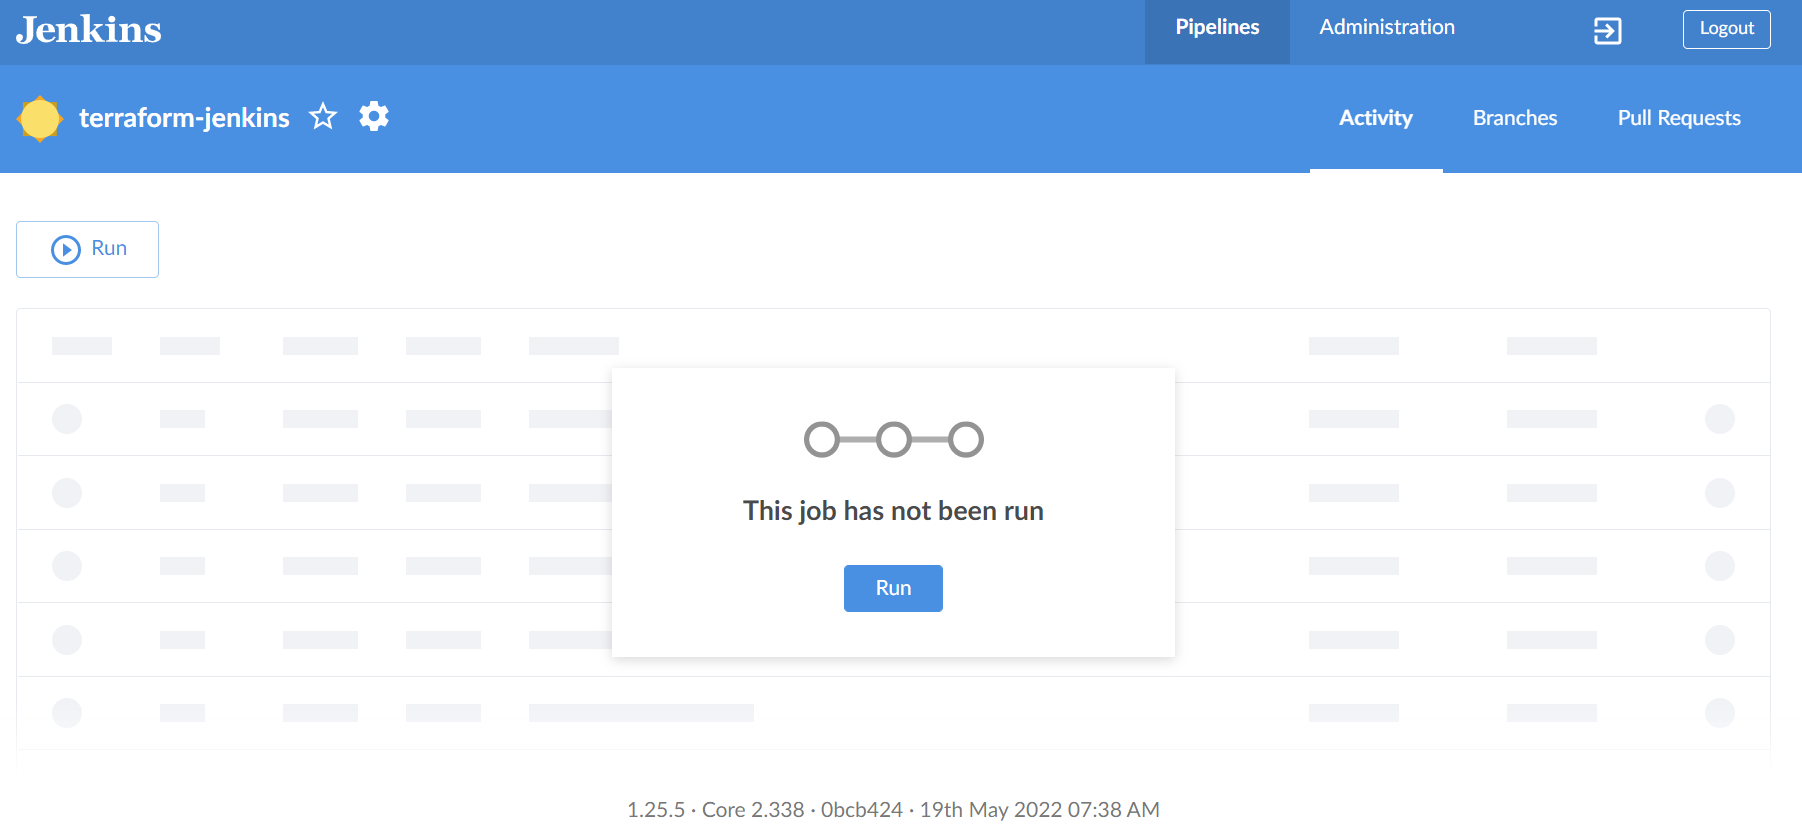
Click Run to execute the job.
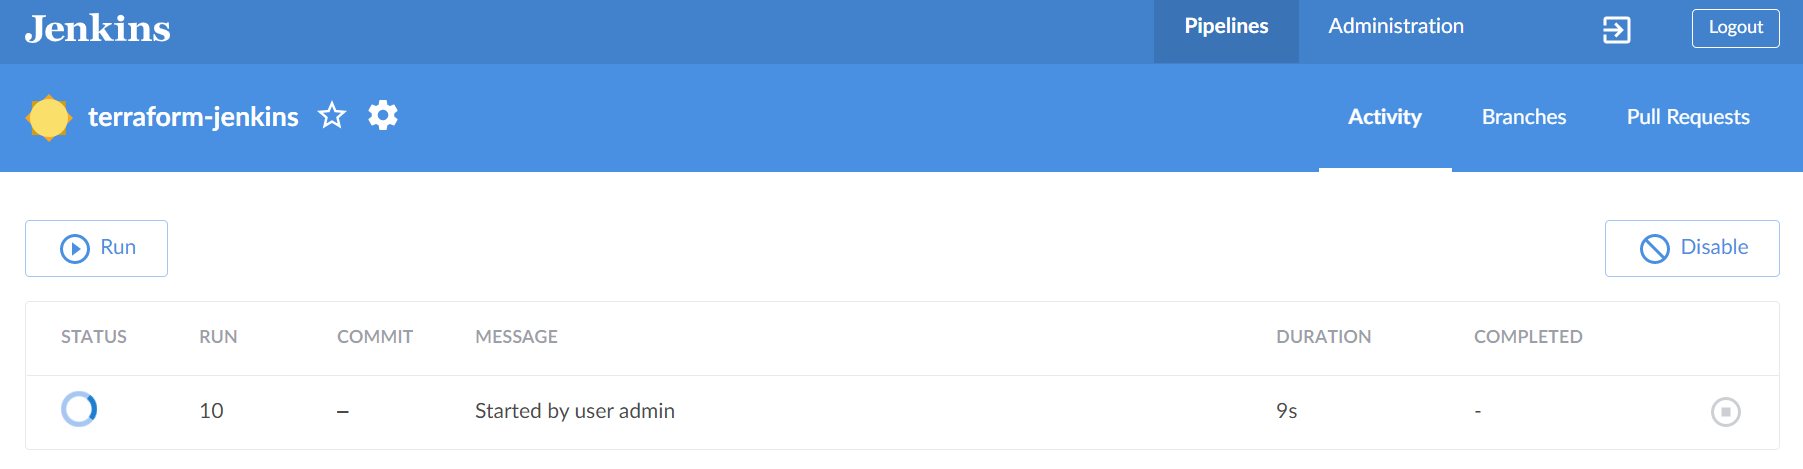
Click the job to view the logs.
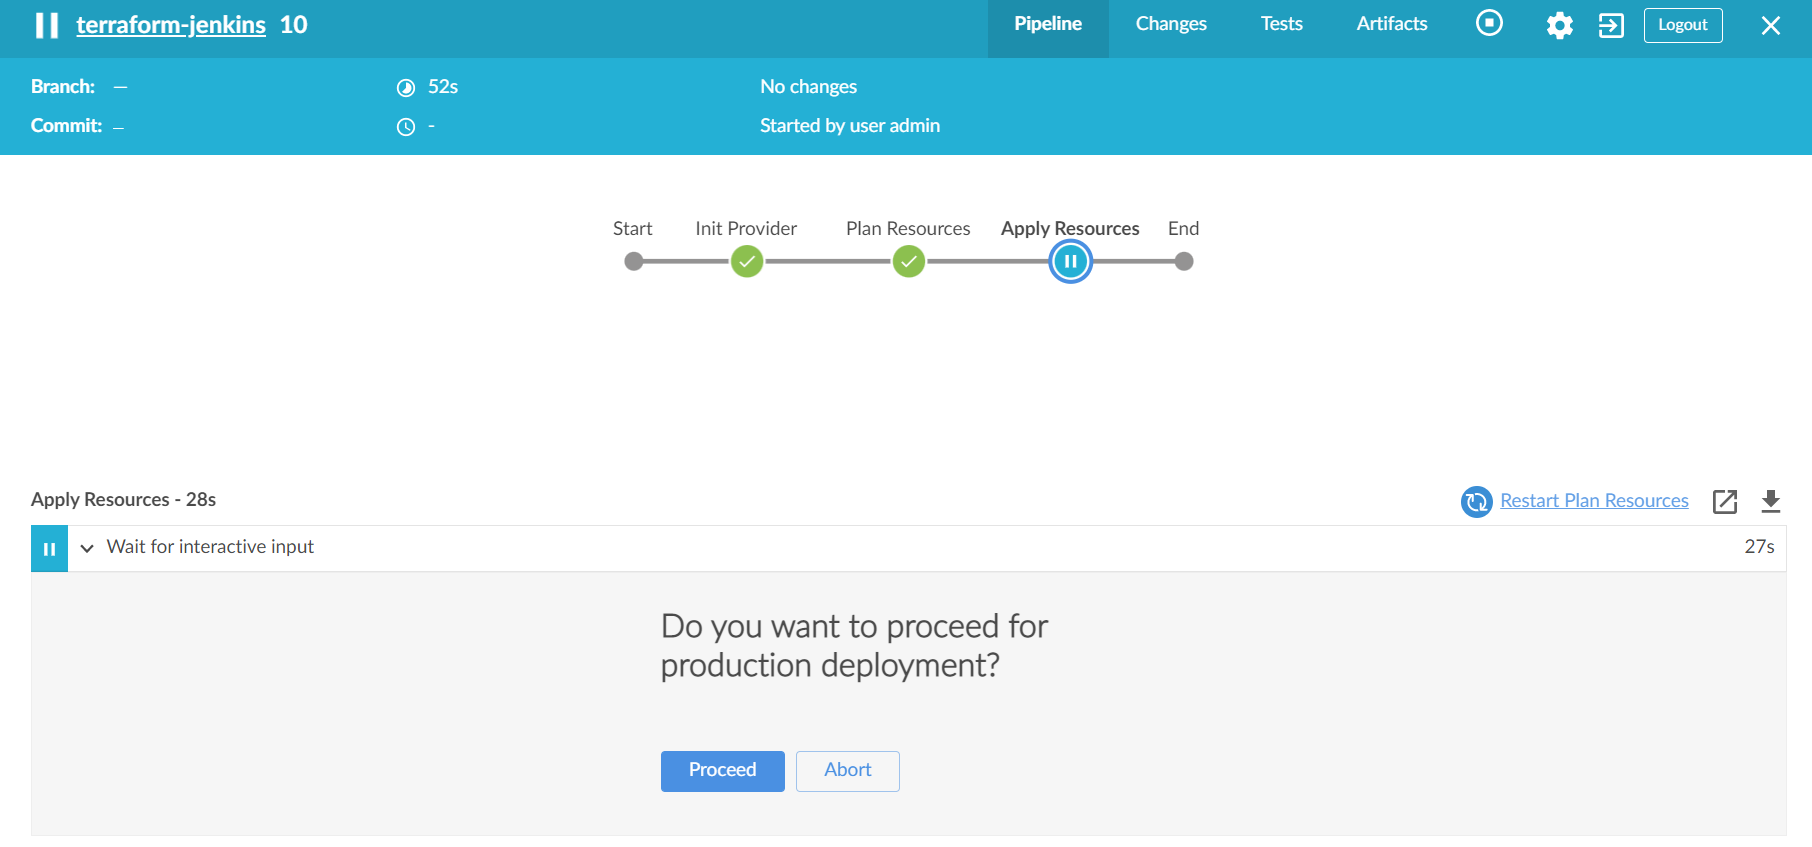
The Apply Resources stage is in a waiting state; after reviewing the plan and confirming it’s fine, we click Proceed. Check the AWS Console and you’ll see the EC2 was successfully created by CI/CD.
Conclusion
So we’ve learned how to use Terraform with Jenkins. In my opinion, which CI/CD tool you choose depends on your company and whether you’re familiar with it. Don’t rely on the rambling analysis articles online — they meander and never reach a clear conclusion.