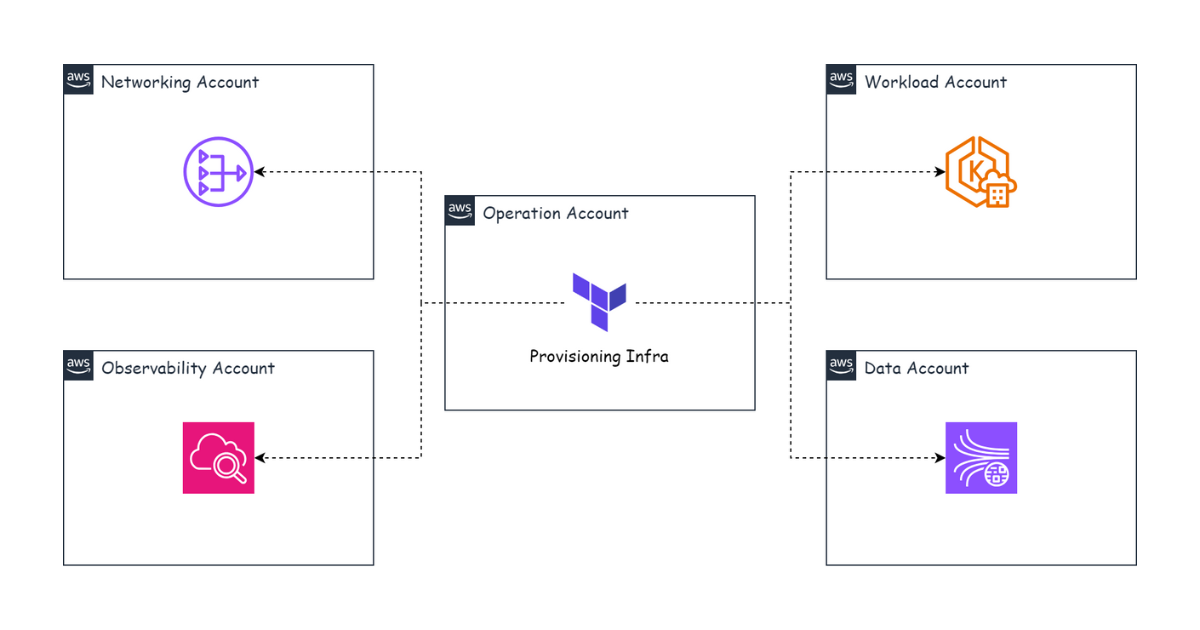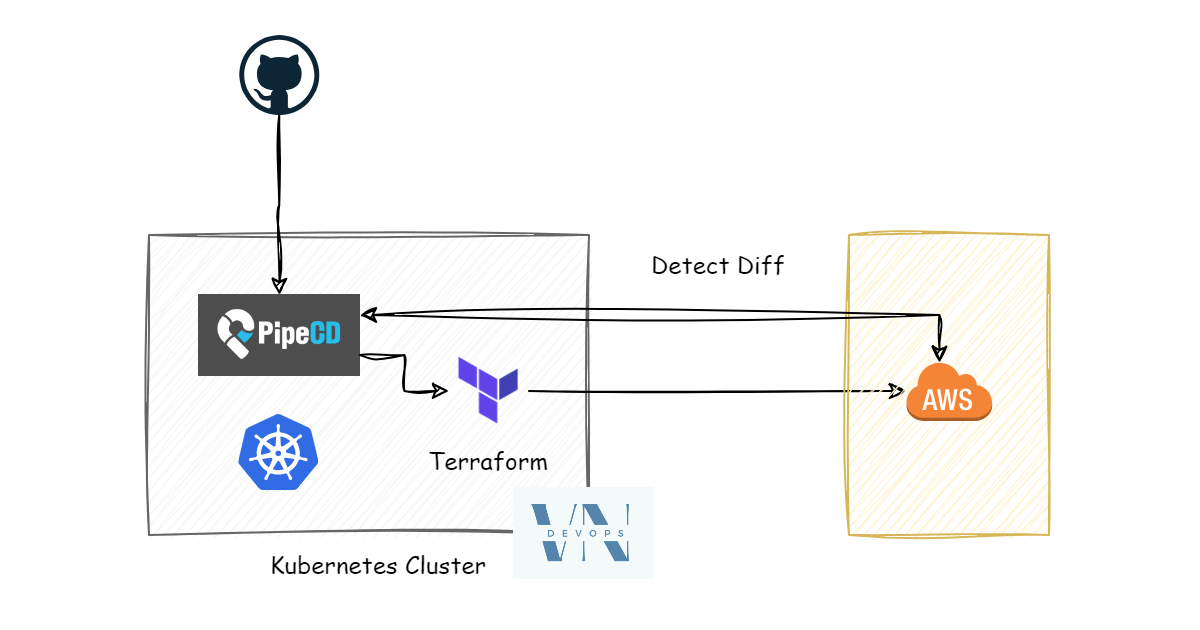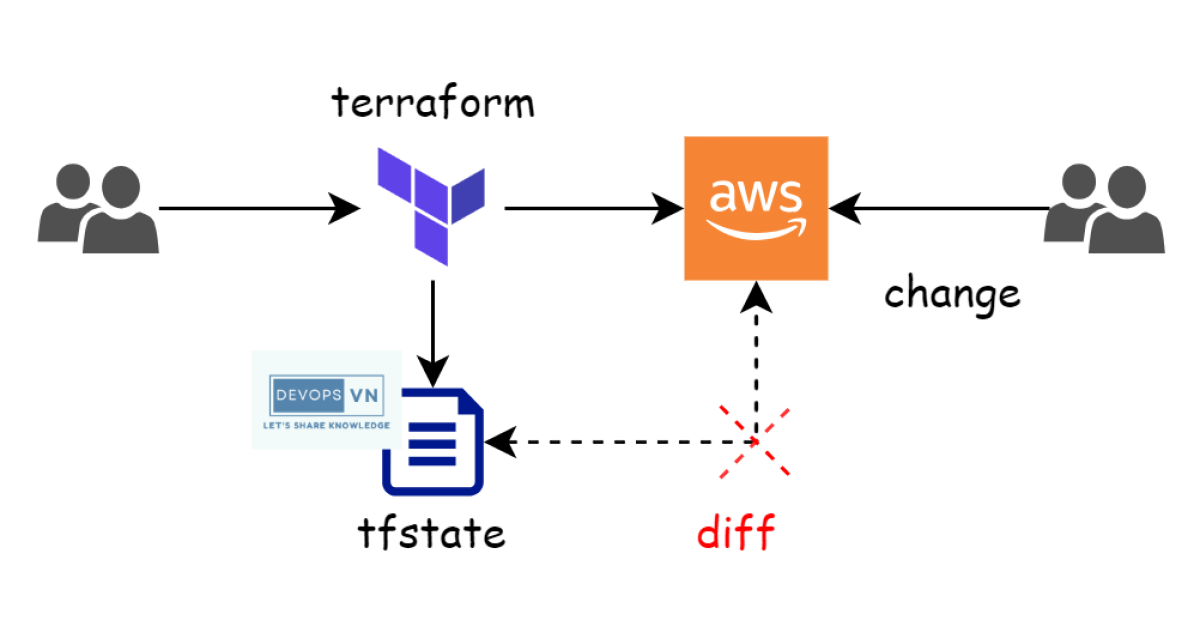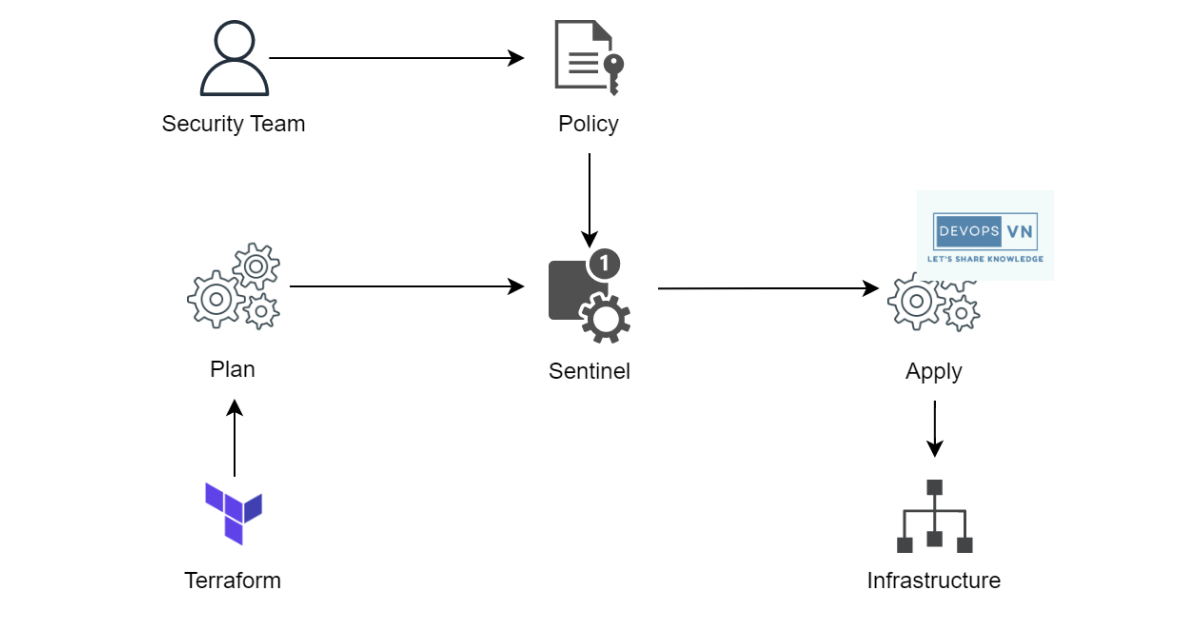
In the previous part we discussed the theory of the Terraform Backend. In this part we’ll practice using a Terraform Standard Backend, specifically the S3 Standard Backend. We’ll learn what components a Terraform S3 backend consists of, how to create it, and how to apply it to our project.
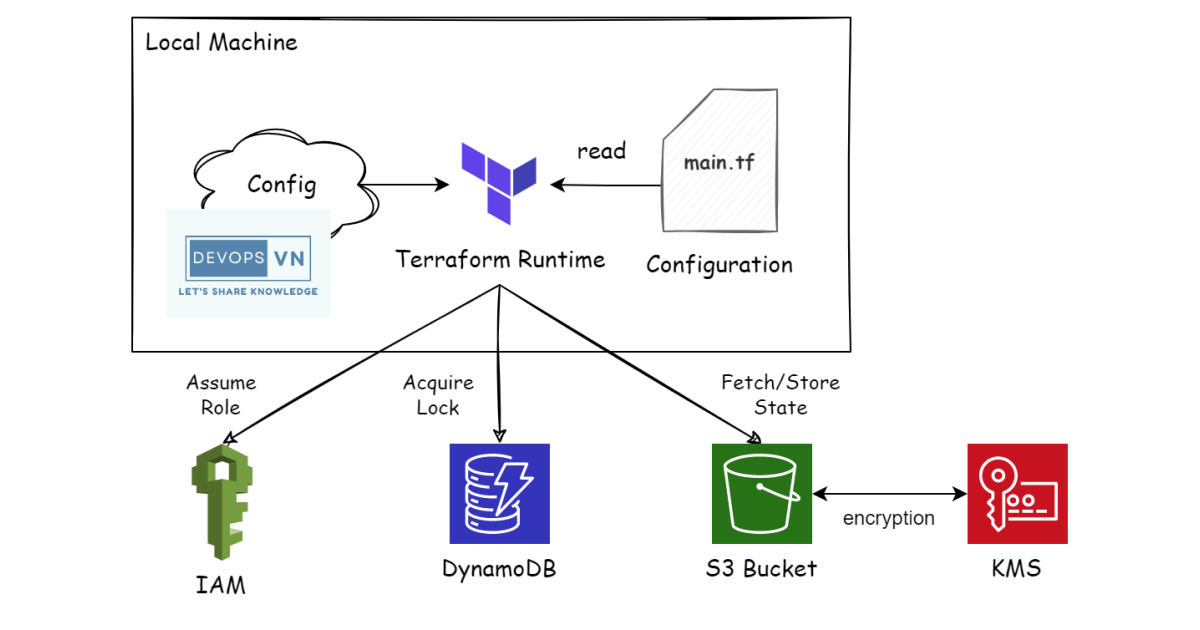
An illustration of the S3 Standard Backend.
Deploying the S3 Backend
Architecture
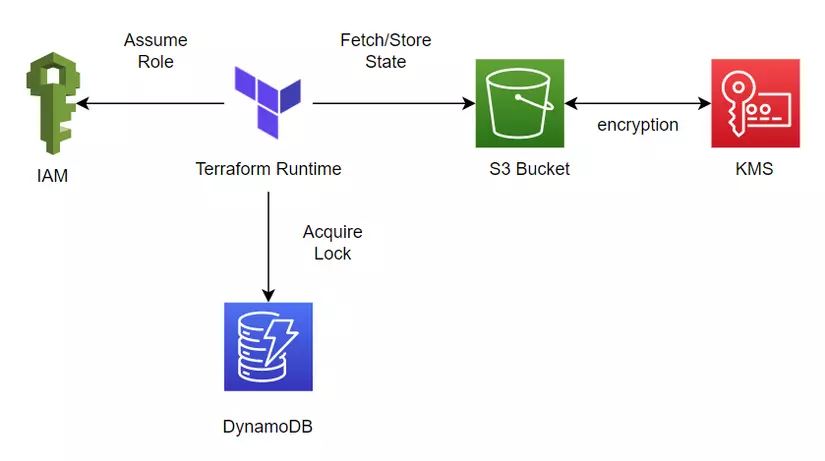
Before using an S3 backend we need to create it first. With modern Terraform (1.10+) the S3 backend can lock state natively — an object in the same bucket — so we no longer need a DynamoDB table. The structure of an S3 backend then consists of these components:
- IAM
- S3 bucket – KMS
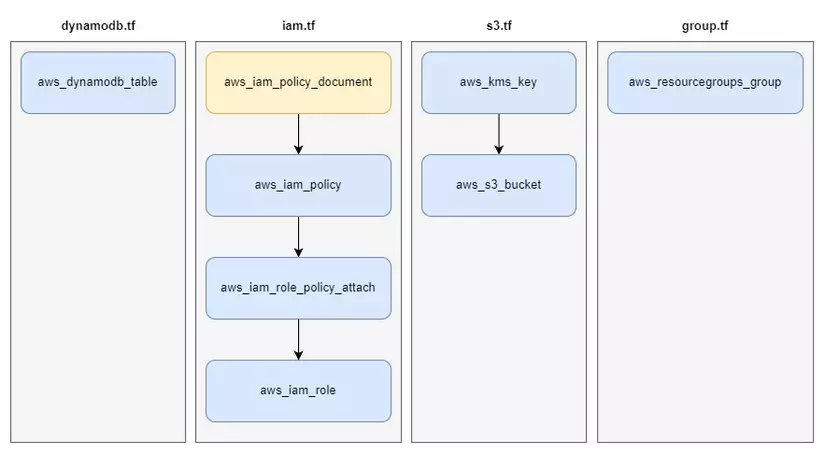
Each component above is used as follows:
- IAM is used for Terraform to Assume Role, granting Terraform permission to
fetch/store(and lock) state in S3. - S3 Bucket is used to store state after Terraform finishes; KMS is used by S3 to encrypt the state data when it’s stored in S3. The lock file also lives in this bucket.
Before Terraform 1.10 you also needed a DynamoDB table for locking (
dynamodb_table = "..."in the backend config). That still works and is now considered legacy — this chapter uses the neweruse_lockfileapproach instead.
Deployment
Now we’ll create the S3 backend. The resources we’ll use to create it are shown below.
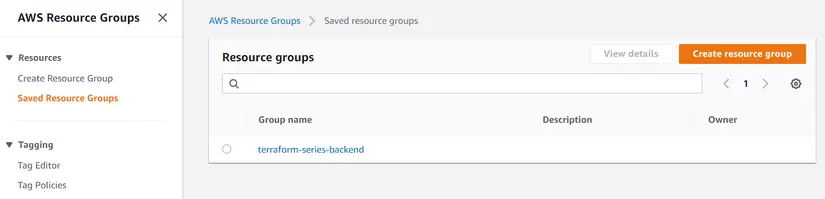
Create a directory and the files main.tf + variables.tf + versions.tf with this content.
provider "aws" {
  region = var.region
}
variable "region" {
  type = string
  default = "us-west-2"
}

variable "project" {
  description = "The project name to use for unique resource naming"
  default     = "terraform-series"
  type        = string
}

variable "principal_arns" {
  description = "A list of principal arns allowed to assume the IAM role"
  default     = null
  type        = list(string)
}
terraform {
  required_version = ">= 1.10"

  required_providers {
    aws = {
      source  = "hashicorp/aws"
      version = "~> 6.0"
    }
  }
}
Then run terraform init. OK, the preparation is done. Because we’re using S3-native locking, there’s no dynamodb.tf file to create — we go straight to the iam.tf file containing the IAM resources.
data "aws_caller_identity" "current" {}

locals {
  principal_arns = var.principal_arns != null ? var.principal_arns : [data.aws_caller_identity.current.arn]
}

# With S3-native locking the lock is just an object in the bucket, so the role
# only needs S3 permissions — no DynamoDB permissions.
data "aws_iam_policy_document" "policy_doc" {
  statement {
    actions   = ["s3:ListBucket"]
    resources = [aws_s3_bucket.s3_bucket.arn]
  }

  statement {
    actions   = ["s3:GetObject", "s3:PutObject", "s3:DeleteObject"]
    resources = ["${aws_s3_bucket.s3_bucket.arn}/*"]
  }
}
The aws_caller_identity data source is used to get information about the AWS account we’re running in. The principal_arns variable contains all the entities we allow to assume the role with the AWS account.
From the comparison expression var.principal_arns != null ? var.principal_arns : [data.aws_caller_identity.current.arn] above — if we don’t pass this variable when running Terraform, it only allows the account we use to run Terraform to have Assume Role permission.
The aws_iam_policy_document resource is used to define our policies. The policy document above defines the permissions we need to perform actions on the state bucket (S3). Next we attach this policy document to a policy and a role.
...
resource "aws_iam_policy" "policy" {
  name   = "${title(var.project)}S3BackendPolicy"
  path   = "/"
  policy = data.aws_iam_policy_document.policy_doc.json
}

data "aws_iam_policy_document" "assume_role" {
  statement {
    actions = ["sts:AssumeRole"]
    effect  = "Allow"

    principals {
      type        = "AWS"
      identifiers = local.principal_arns
    }
  }
}

resource "aws_iam_role" "iam_role" {
  name               = "${title(var.project)}S3BackendRole"
  assume_role_policy = data.aws_iam_policy_document.assume_role.json

  tags = local.tags
}

resource "aws_iam_role_policy_attachment" "policy_attach" {
  role       = aws_iam_role.iam_role.name
  policy_arn = aws_iam_policy.policy.arn
}
Then we create the s3.tf file.
resource "aws_s3_bucket" "s3_bucket" {
  bucket        = "${var.project}-s3-backend"
  force_destroy = false

  tags = local.tags
}

resource "aws_s3_bucket_public_access_block" "s3_bucket" {
  bucket = aws_s3_bucket.s3_bucket.id

  block_public_acls       = true
  block_public_policy     = true
  ignore_public_acls      = true
  restrict_public_buckets = true
}

resource "aws_s3_bucket_versioning" "s3_bucket" {
  bucket = aws_s3_bucket.s3_bucket.id

  versioning_configuration {
    status = "Enabled"
  }
}

resource "aws_kms_key" "kms_key" {
  description         = "KMS key for the ${var.project} Terraform state bucket"
  enable_key_rotation = true

  tags = local.tags
}

resource "aws_s3_bucket_server_side_encryption_configuration" "s3_bucket" {
  bucket = aws_s3_bucket.s3_bucket.id

  rule {
    apply_server_side_encryption_by_default {
      sse_algorithm     = "aws:kms"
      kms_master_key_id = aws_kms_key.kms_key.arn
    }
  }
}
aws_s3_bucket defines the S3 bucket. New buckets are private by default (ACLs are disabled on modern S3), so we no longer need an aws_s3_bucket_acl resource — instead we add an aws_s3_bucket_public_access_block to be sure nothing is ever exposed publicly.
Next, and importantly, for S3 to be usable for storing state we must enable versioning, which we do with the aws_s3_bucket_versioning resource. Finally, we enable SSE (Server Side Encryption) for our bucket with the aws_s3_bucket_server_side_encryption_configuration resource, backed by a KMS key with automatic rotation.
We’ve prepared enough resources for the S3 backend. Next we update the main.tf file so it outputs the S3 backend values we’ll need for other Terraform projects.
...
locals {
  tags = {
    project = var.project
  }
}

data "aws_region" "current" {}

resource "aws_resourcegroups_group" "resourcegroups_group" {
  name = "${var.project}-s3-backend"

  resource_query {
    query = <<-JSON
      {
        "ResourceTypeFilters": [
          "AWS::AllSupported"
        ],
        "TagFilters": [
          {
            "Key": "project",
            "Values": ["${var.project}"]
          }
        ]
      }
    JSON
  }
}

output "config" {
  value = {
    bucket   = aws_s3_bucket.s3_bucket.bucket
    region   = data.aws_region.current.region
    role_arn = aws_iam_role.iam_role.arn
  }
}
Notice the resource named aws_resourcegroups_group — this resource is used to group resources together for easier management.
Run terraform plan to create the S3 backend, and after it finishes we’ll see the output values below, which are the ones we’ll need.
config = {
  "bucket" = "terraform-series-s3-backend"
  "region" = "us-west-2"
  "role_arn" = "arn:aws:iam::<ACCOUNT_ID>:role/TerraformSeriesS3BackendRole"
}
To check the S3 backend resources, we go to the AWS Console Resource Group.
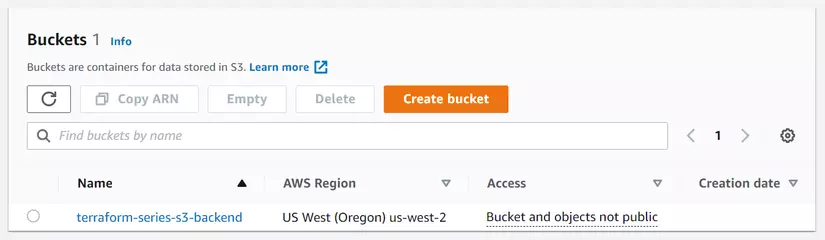
Click it and we’ll see the details of each S3 backend resource. Next we’ll use this S3 backend in a project.
Using the S3 Backend
To use the S3 backend for a project, we configure it as follows.
terraform {
  backend "s3" {
    bucket       = <bucket-name>
    key          = <path>
    region       = <region>
    encrypt      = true
    role_arn     = <arn-role>
    use_lockfile = true
  }
}
We declare a block named terraform with the S3 backend and the following values:
bucket: the name of the S3 bucket.key: the path where we store state in the bucket.role_arn: the IAM role with the necessary permissions.use_lockfile: enables S3-native state locking (the modern replacement fordynamodb_table).
Now we’ll do an example creating an EC2 that uses the S3 backend. Create a directory and a main.tf file.
terraform {
  required_version = ">= 1.10"

  required_providers {
    aws = {
      source  = "hashicorp/aws"
      version = "~> 6.0"
    }
  }

  backend "s3" {
    bucket       = "terraform-series-s3-backend"
    key          = "test-project"
    region       = "us-west-2"
    encrypt      = true
    role_arn     = "arn:aws:iam::<ACCOUNT_ID>:role/TerraformSeriesS3BackendRole"
    use_lockfile = true
  }
}

provider "aws" {
  region = "us-west-2"
}

data "aws_ami" "ami" {
  most_recent = true
  owners      = ["099720109477"]

  filter {
    name   = "name"
    values = ["ubuntu/images/hvm-ssd-gp3/ubuntu-noble-24.04-amd64-server-*"]
  }
}

resource "aws_instance" "server" {
  ami           = data.aws_ami.ami.id
  instance_type = "t3.micro"

  lifecycle {
    create_before_destroy = true
  }

  tags = {
    Name = "Server"
  }
}

output "public_ip" {
  value = aws_instance.server.public_ip
}
Run terraform init and then terraform plan; after it finishes we’ll see that terraform.tfstate is no longer on local. Instead we need to go to the S3 bucket to view our state file.
Go to the AWS S3 Console.
Click terraform-series-s3-backend and we’ll see our state file.
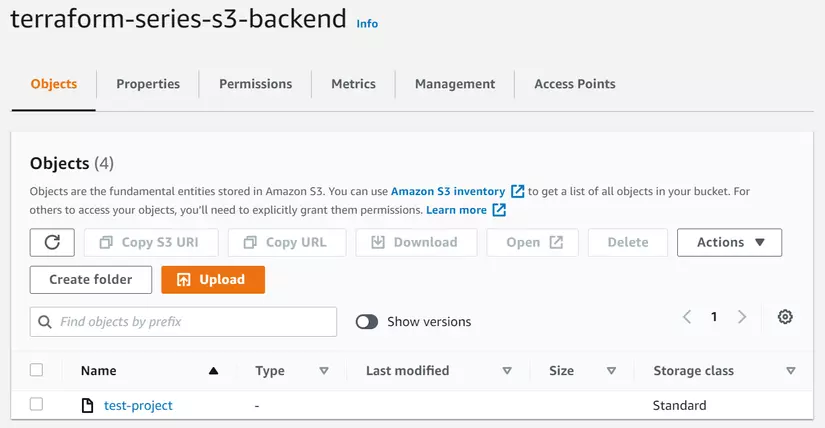
We’ve successfully used the S3 backend.
Conclusion
So we’ve learned about the S3 backend — how to create and use it. When working with a team we should use the S3 backend for our project: it centralizes the state file and solves the conflict problem when many people run Terraform at the same time. In the next part we’ll cover how to configure and deploy Terraform using the Remote Backend.