Every container starts from an image. In this chapter we’ll dig into what images actually are, where to find them, and how to build your own.
Code for this chapter. See 02-images.
What’s inside an image?
An image is a stack of layers, each representing a change to the filesystem:
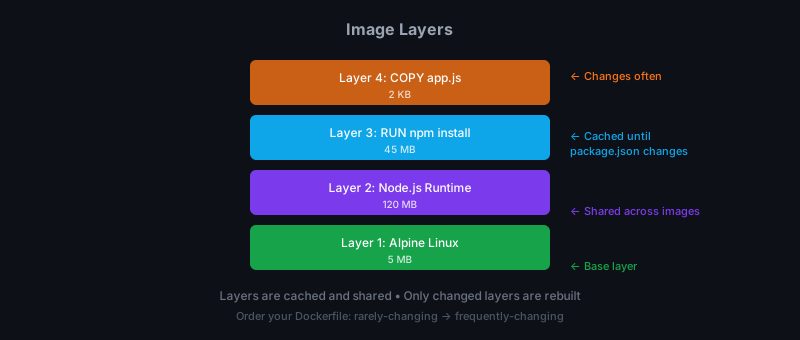
Layers are read-only and shared. If two images both use python:3.12-alpine as
their base, that layer exists only once on disk. When you run a container, Docker adds a
thin writable layer on top — that’s where your application writes files during runtime.
This layering is why Docker is efficient:
- Pulling images is fast — you only download layers you don’t have
- Storage is efficient — shared layers aren’t duplicated
- Building is fast — unchanged layers are cached
Finding images on Docker Hub
Docker Hub is the default registry. Search for anything:
docker search nginx
NAME                              DESCRIPTION                                     STARS
nginx                             Official build of Nginx                         19000
linuxserver/nginx                 ...                                             200
...
Official images (maintained by Docker or the project itself) appear without a namespace —
just nginx, not someone/nginx. Community images have a username prefix.
Pull an image:
docker pull nginx
This pulls the latest tag. Be explicit about versions:
docker pull nginx:1.25
docker pull nginx:1.25-alpine
The -alpine variant uses Alpine Linux — smaller (30MB vs 180MB) but uses musl instead
of glibc, which occasionally causes compatibility issues.
Image tags
Tags are version labels. Common conventions:
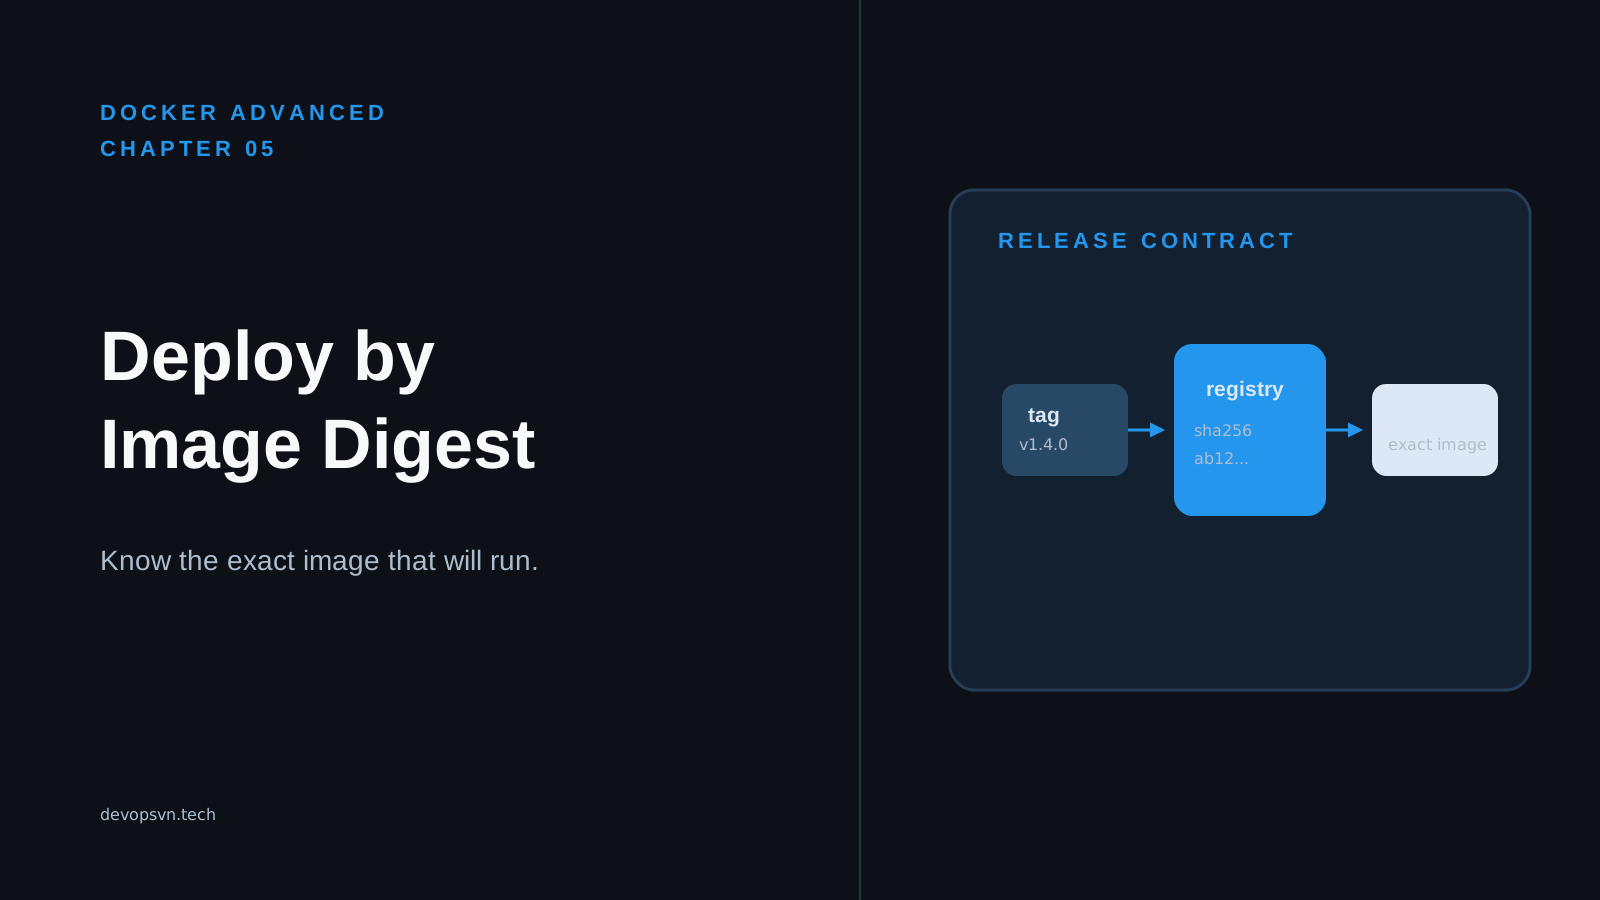
latest— Most recent stable version (not always updated, not always latest)1.25— Specific major.minor version1.25.3— Specific patch version1.25-alpine— Version on Alpine basesha256:abc123...— Digest (immutable, content-addressed)
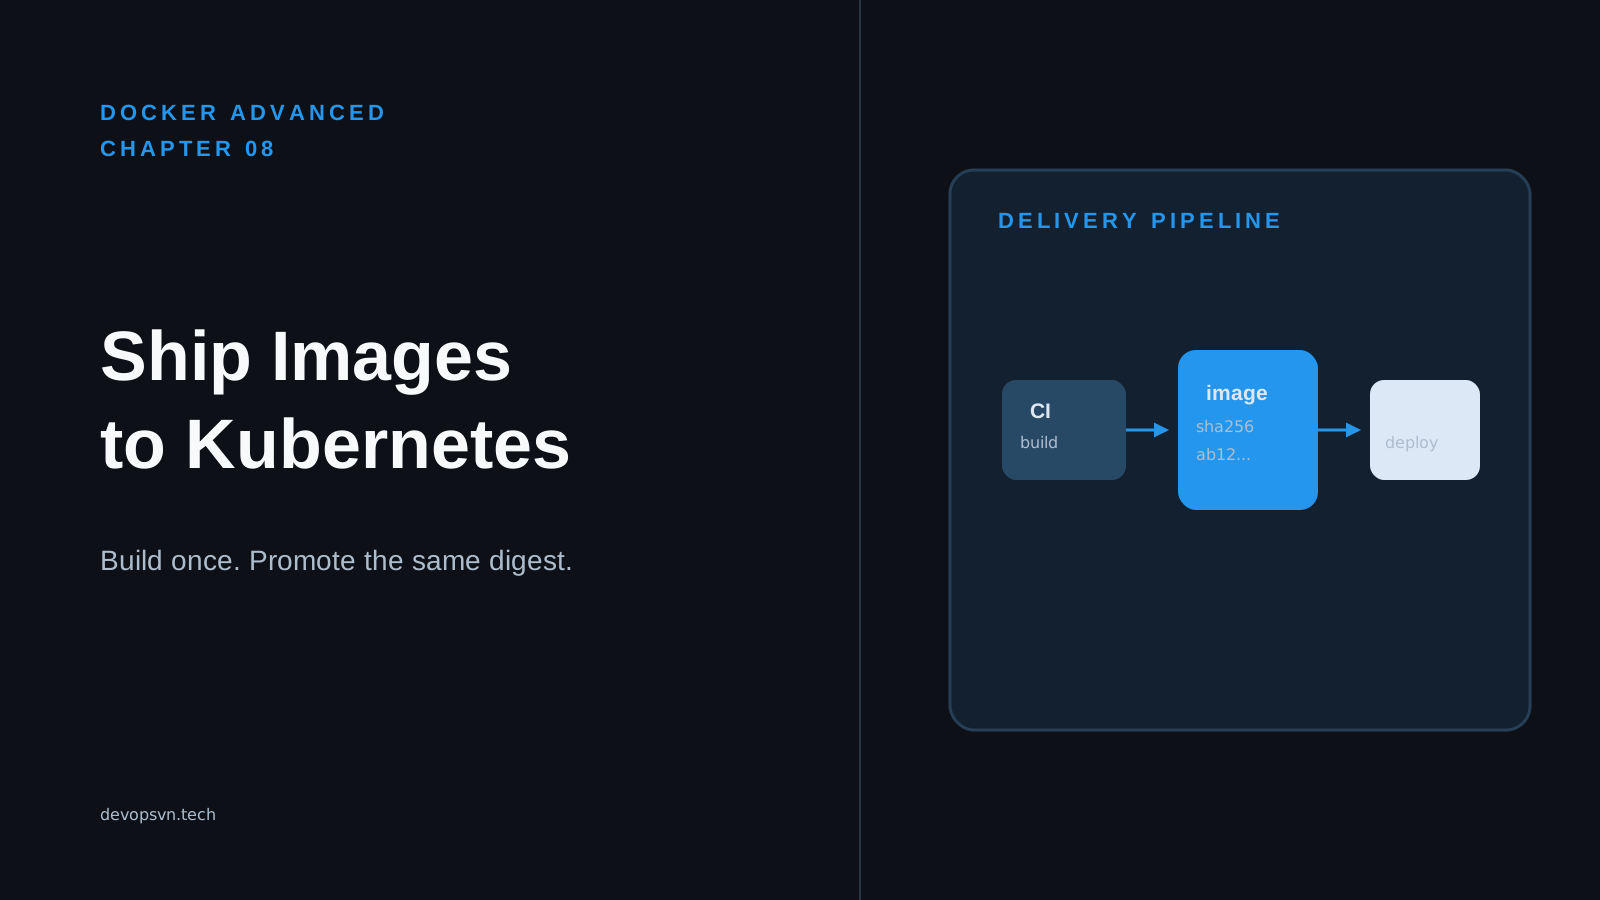
For reproducible builds, never rely on latest. Pin to a specific version:
# Bad — might change tomorrow
FROM python:latest

# Good — predictable
FROM python:3.12.1-slim
Inspecting images
See what’s in an image:
docker inspect nginx:1.25
This dumps a wall of JSON. To see specific fields:
docker inspect nginx:1.25 --format '{{.Config.ExposedPorts}}'
View the layer history:
docker history nginx:1.25
IMAGE          CREATED       CREATED BY                                      SIZE
a6bd71f48f68   2 weeks ago   CMD ["nginx" "-g" "daemon off;"]                0B
<missing>      2 weeks ago   STOPSIGNAL SIGQUIT                              0B
<missing>      2 weeks ago   EXPOSE 80                                       0B
<missing>      2 weeks ago   ENTRYPOINT ["/docker-entrypoint.sh"]            0B
<missing>      2 weeks ago   COPY 30-tune-worker-processes.sh /docker-e...   4.62kB
...
This shows every layer and the command that created it. Useful for understanding how an image was built.
Building your first image
Time to build something. Create a directory:
mkdir hello-docker && cd hello-docker
Create a simple HTML file:
<!DOCTYPE html>
<html>
<head>
    <title>Hello Docker</title>
</head>
<body>
    <h1>Hello from Docker!</h1>
    <p>This page is served from a container.</p>
</body>
</html>
Save that as index.html. Now create a Dockerfile:
FROM nginx:alpine
COPY index.html /usr/share/nginx/html/
EXPOSE 80
Three lines:
FROM nginx:alpine— Start from the nginx image (Alpine variant)COPY index.html /usr/share/nginx/html/— Copy our file into nginx’s web rootEXPOSE 80— Document that this container listens on port 80
Build it:
docker build -t my-web:v1 .
-t my-web:v1— Tag the image asmy-webversionv1.— Build context (the current directory)
[+] Building 2.3s (7/7) FINISHED
 => [1/2] FROM docker.io/library/nginx:alpine
 => [2/2] COPY index.html /usr/share/nginx/html/
 => exporting to image
 => => naming to docker.io/library/my-web:v1
Run it:
docker run -d -p 8080:80 --name my-web my-web:v1
Open http://localhost:8080 — you’ll see your custom page.
Understanding build context
When you run docker build ., Docker sends the entire directory (the build context)
to the Docker daemon. Large directories slow down builds.
Create a .dockerignore file to exclude files:
node_modules
.git
*.md
Dockerfile
.env
This works like .gitignore — patterns here won’t be sent to the build context or
available to COPY commands.
Tagging strategies
Your CI pipeline might tag images like this:
# Tag with git commit
docker build -t my-web:abc123f .

# Tag with semantic version
docker build -t my-web:1.2.3 .

# Tag as latest (after confirming it works)
docker tag my-web:1.2.3 my-web:latest
Multiple tags can point to the same image. Push all of them to your registry.
Pushing to a registry
Docker Hub is free for public images. Create an account, then:
docker login

docker tag my-web:v1 yourusername/my-web:v1
docker push yourusername/my-web:v1
Now anyone can pull your image:
docker pull yourusername/my-web:v1
For private images, use Docker Hub’s private repos, or self-hosted registries like Harbor, or cloud registries like AWS ECR, GCP Artifact Registry, or Azure ACR.
Summary
- Images are stacks of read-only layers. Containers add a writable layer on top.
- Docker Hub hosts official and community images. Pin to specific versions.
docker build -t name:tag .creates an image from a Dockerfile.- Use
.dockerignoreto keep build context small. - Push to registries to share images across machines.
In the next chapter we’ll go deep on Dockerfiles — the full instruction set, multi-stage builds, and patterns for production-ready images.